Get Marketing Insights First
Subscribe to receive actionable strategies, growth tips, and industry insights delivered straight to your inbox.

The first time I tried to add music to a video on iPhone, I spent twenty minutes figuring out why the audio kept getting stripped on export. The video looked fine. The music was gone. Turned out I was saving it in the wrong format the whole time.
This guide covers four working methods for adding music to a video on iPhone in 2026 — iMovie, CapCut, the Photos app’s Memory feature, and an online tool for when you don’t want to install anything. Each method has different strengths. I’ll tell you which situation each one actually fits.
Before picking a method, two quick things to sort out:
Your music source matters. If you’re using audio saved in your Files app or downloaded as an MP3, most methods below will work. If you’re hoping to pull a track from Apple Music or Spotify, skip to the FAQ — there’s a specific answer for that.
Your export destination matters. Adding music for an Instagram Reel is a different problem than adding music to a client video. Some methods give you more control over the final file; others are faster but limited. Keep that in mind as you read.
iMovie gives you a proper timeline, which makes a real difference once you start caring about how music lines up with your footage.
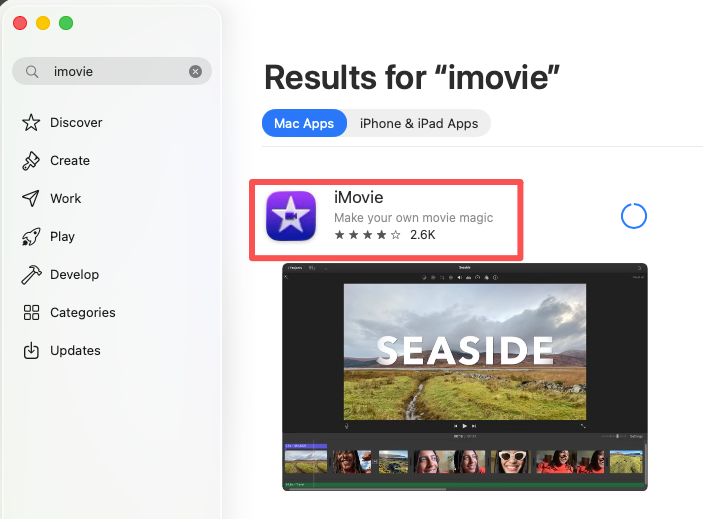
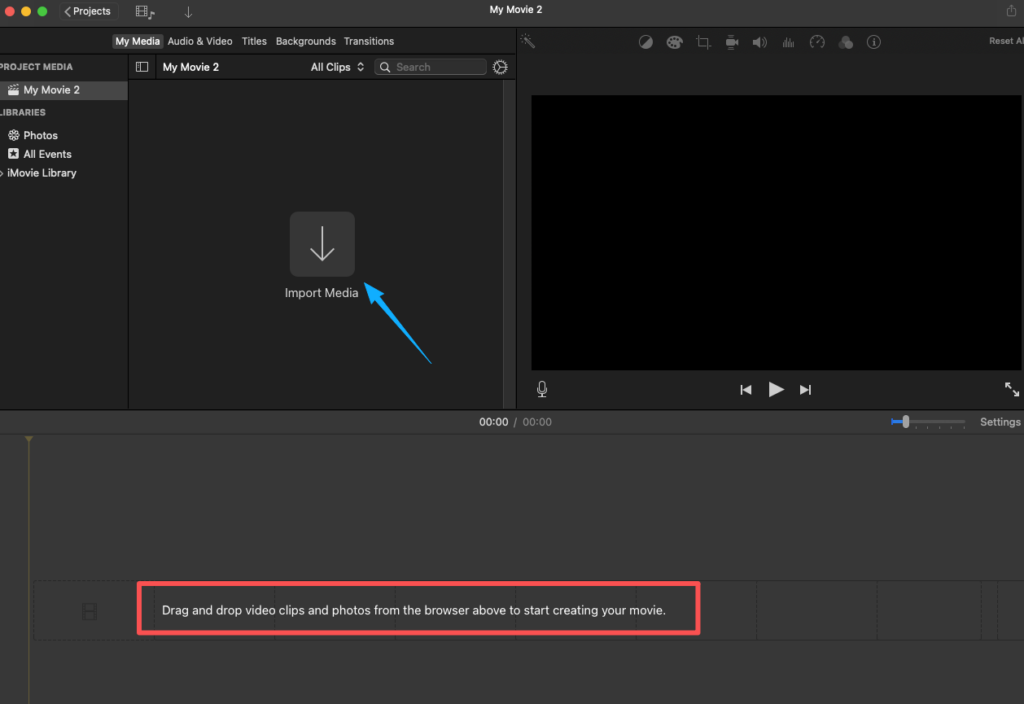
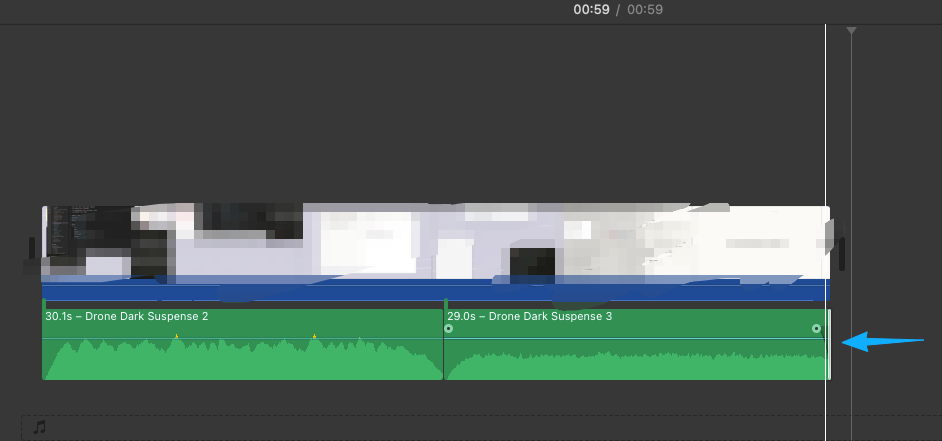
The Files option is the key advantage here. You can bring in an MP3 or M4A you’ve downloaded and place it exactly where you want it in the timeline.
iMovie works well when you need:
One thing I didn’t expect: the volume trim handles in iMovie are genuinely useful for fading music in and out. It’s not a pro tool, but it’s more than enough for most YouTube or short-form content.
CapCut has become the default editing app for a lot of short-form video creators, and the music workflow is one of the reasons why.
The Extracted audio feature is something I use more than I expected. If you have a reference video with the exact vibe you want, you can pull the audio from it and drop it under your own footage.
CapCut’s library is large and searchable by mood and genre, which helps when you’re not coming in with a specific track in mind. The auto-captions and beat-sync features are in the same app, which reduces how much you’re switching between tools.
Here’s the thing nobody mentions about the Photos app — it doesn’t let you add background music to a single video through the regular Edit screen. There’s no music note icon hiding in the video editor. I spent a while looking for it the first time.
What the Photos app does offer is Memory Videos — Apple’s auto-generated slideshows from your photos and videos. That’s where the music options live.
This method only works for Memory Videos — collections of photos and videos that iOS compiles together. You can’t use it to add a custom audio track to a single standalone video clip.
The soundtrack options are also limited. You get Apple’s preset mood-based tracks and songs from your Apple Music library. There’s no way to import an MP3 from your Files app.
And the editing controls are minimal — you can pick a song, but you can’t control volume levels, fade timing, or the precise sync between audio and video.
If you need to add music to a single video with real control, iMovie or CapCut are the right tools. The Photos app is best for quickly assembling a memory reel with background music when you don’t need frame-level precision.
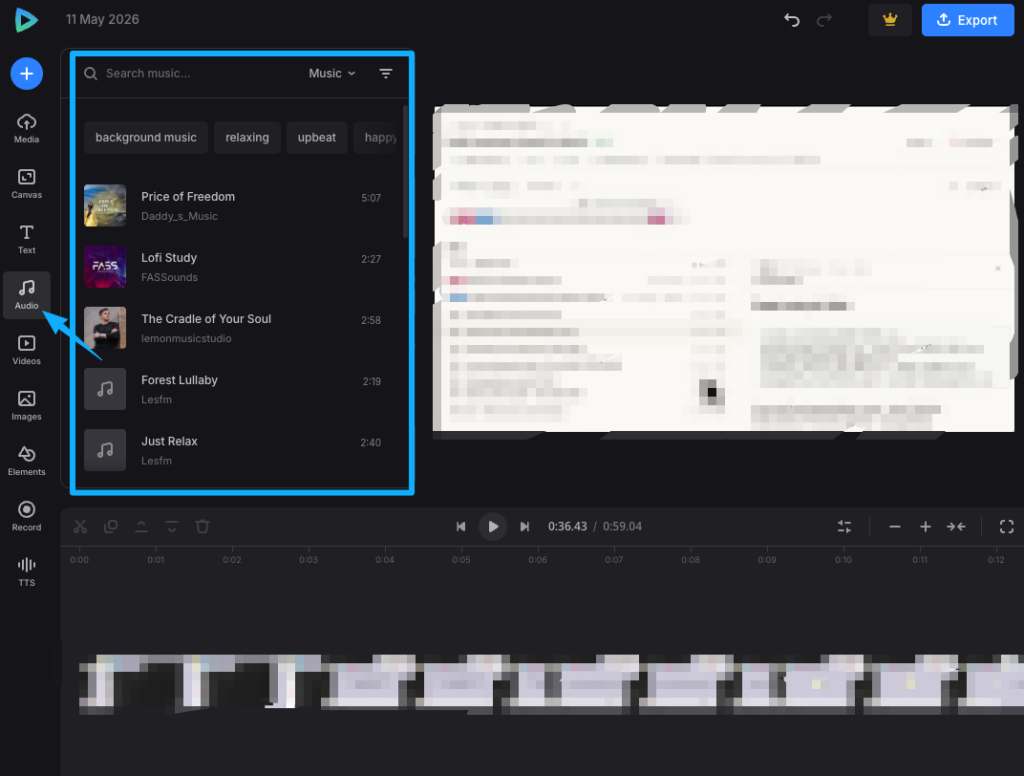
If you’re working on a borrowed phone, a shared device, or just don’t want another app taking up storage, an online tool is worth knowing about. You upload your video, add music, and download the result — nothing installed.
The tradeoff: file size limits. Most free online editors cap uploads somewhere between 500MB and 2GB. If your video is a long, high-resolution file, you may hit a wall.
The general flow is consistent across most online editors (Clideo, Kapwing, and similar tools follow the same pattern):
One specific note: when you’re exporting, double-check the output format. Some online editors default to formats that don’t play well with every platform. MP4 with H.264 is the safest output to ask for — Apple’s guide to media file compatibility on iPhone has the full compatibility list if you want to check your target format.
Here’s how I think about it:
| Situation | Best method | Why |
| Single video, precise music placement | iMovie | Timeline + Files import + volume control |
| Short-form content, fast turnaround | CapCut | Built-in library + beat sync + quick export |
| Photo/video memory reel with background music | Photos app | Fast, already on your phone, mood-based soundtracks |
| No app install, quick job | Online tool | Nothing to download, works in browser |
None of these is objectively “best.” The right method is the one that fits how you work and what you need from the final file.
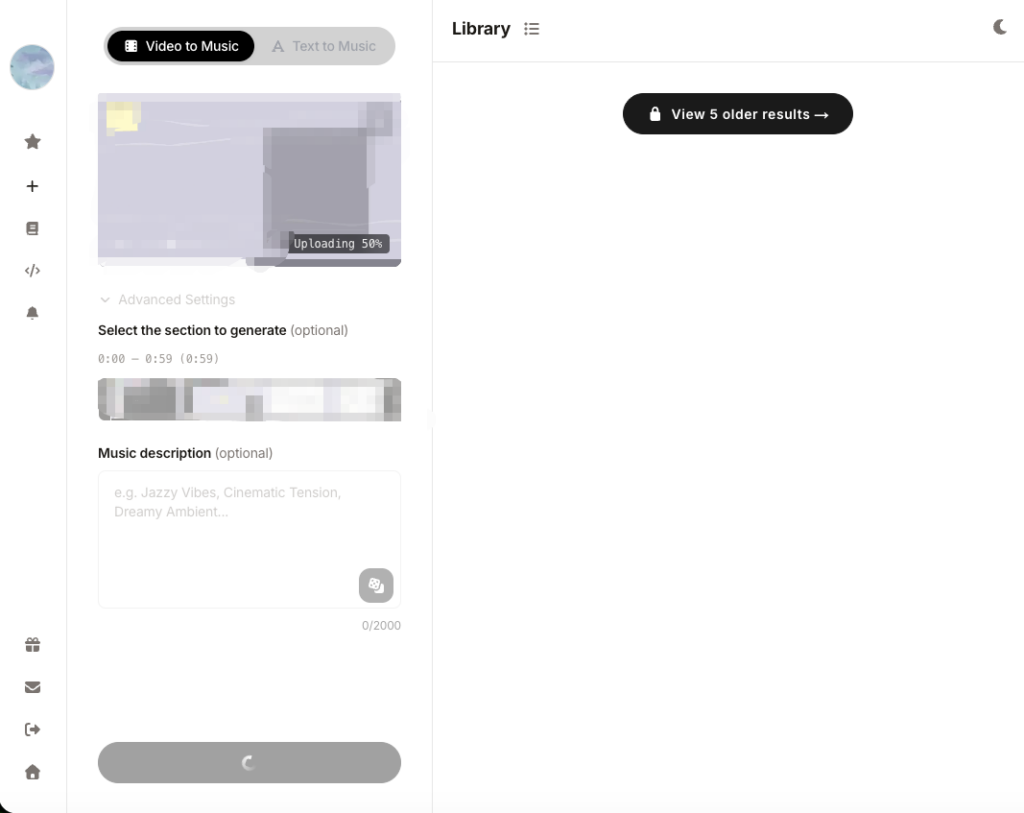
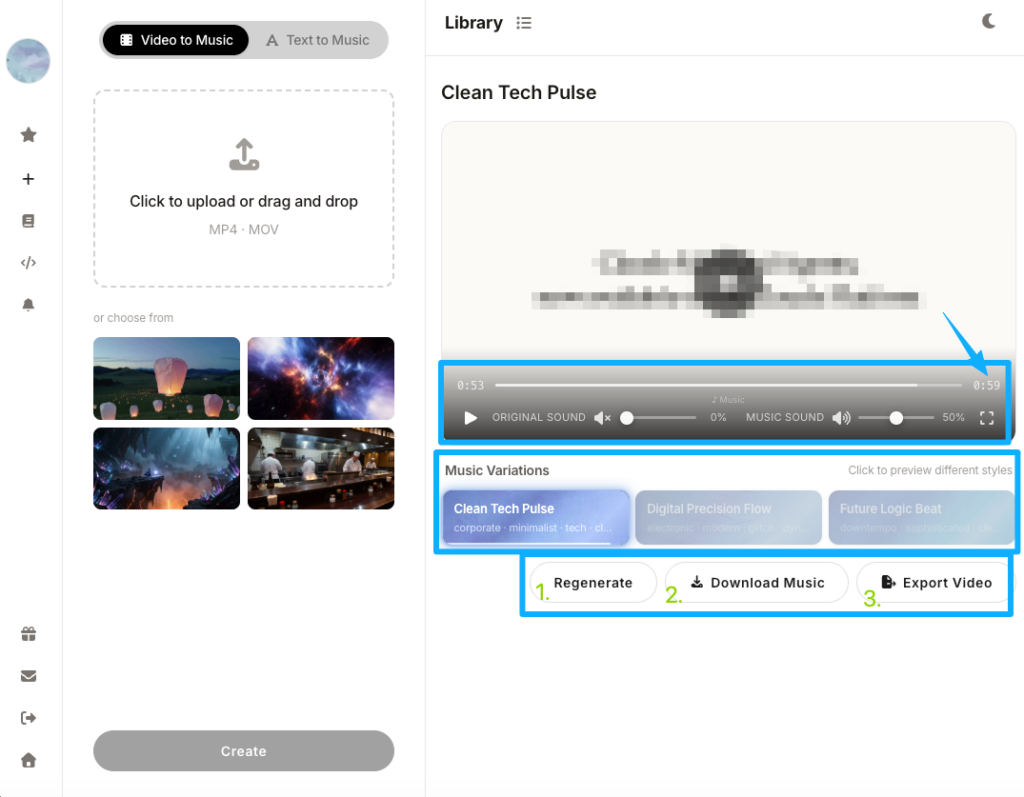
One thing none of these methods fully solves: if you’re starting with your video and don’t know what music would actually fit it — not just sound fine, but genuinely match the pacing and mood — that’s a separate problem. It’s the part that can take longer than the actual editing. Worth noting that tools like Sonilo are built specifically for this: you upload a video and it generates a custom soundtrack matched to the length and feel of your footage. Not a replacement for manual editing control, but useful when you’re stuck on “what music would even work here.”
Exporting in the wrong format. iMovie’s default export is usually fine, but some third-party apps will save in a format that strips audio when you share to certain platforms. Always preview the exported file before posting.
Forgetting about original audio. If your video has ambient sound or dialogue you want to keep, make sure you’re mixing — not replacing — the audio. In CapCut and iMovie, both audio tracks can coexist at adjusted volumes. The Photos app’s Memory feature doesn’t give you this control.
Music cutting off abruptly. This happens when the music file is shorter than the video. Either pick a longer track, loop it (iMovie and CapCut both allow this), or trim your video to match the music length.
Volume levels that don’t balance. Background music that drowns out dialogue is one of the most common problems in amateur video. In iMovie, use the volume sliders on each audio track independently. In CapCut, tap the audio track and adjust with the volume knob.
This comes up constantly, so let me be direct about what actually happens when you try.
I dragged an Apple Music track into iMovie once. It didn’t work. Tried it in CapCut too — same result. The short version: Apple Music and Spotify songs are locked for streaming only. They use DRM protection, which means the files aren’t regular audio you can drop into a video editor. The practical result is simple — if it came from a streaming subscription, it won’t export with your video.
I’m not going to pretend I fully understand the DRM side of it. But if you want the full picture, Apple’s media services terms spell out what you can and can’t do with Apple Music content — worth a look if you’re curious about the specifics.
One exception: in the Photos app’s Memory feature, you’ll see your Apple Music library as a soundtrack option. But that only works within the Memory Video itself — it doesn’t help with general video editing in iMovie or CapCut.
Spotify is even more locked down. There’s no built-in path to use Spotify audio in any video editing app on iPhone.
The route that actually works: if you’ve purchased a track from iTunes or have a DRM-free MP3, you can import it via Files in iMovie or CapCut without issue. That’s the clean path.
iMovie is free and available on iPhone. CapCut is also free with optional paid features. The Photos app is built in but limited to Memory Videos for music. Each has different limitations — see the method breakdowns above for what you trade off with each.
In iMovie, you can trim audio clips directly on the timeline — drag the edges of the audio clip to fit. CapCut has a similar drag-to-trim on the audio track. The Photos app doesn’t give you trim handles for music in Memories.
If the music is too short for your video: CapCut has a loop feature on audio clips. In iMovie, you’d need to duplicate the audio clip and place it end-to-end.
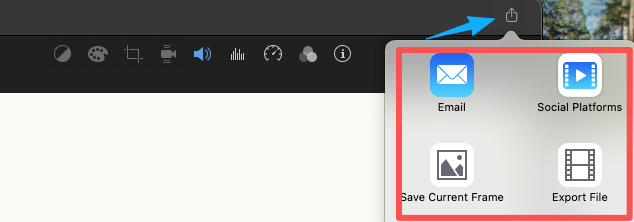
Most commonly: the video was exported in a format that doesn’t carry the audio track, or you saved a still frame instead of the video. In iMovie, make sure you’re tapping the share icon and selecting Save Video — not Save to Camera Roll from a still image.
Also check: some platforms (Instagram, TikTok) mute or replace audio on upload if their systems flag a track. That’s a post-upload issue, not an export issue — the file itself usually has the audio intact.
Yes, in iMovie and CapCut. Both allow multiple audio tracks on the timeline, so you can place different songs at different points in the video. The Photos app’s Memory feature only supports one music track.
For iMovie and CapCut on iPhone: MP3 and M4A both import cleanly. WAV files work in CapCut. If you’re having issues, M4A (AAC) tends to be the most compatible format for Apple’s native apps. Apple’s guide to media file compatibility covers what iOS handles natively — worth a quick look if you keep hitting format errors.
In iMovie: add your music track, then select the original video audio and reduce its volume — or keep both at full and let them mix. In CapCut: go to Audio > Volume on each track independently. In the Photos app Memory feature: you can choose a soundtrack, but there’s no separate control for the original video audio.
A few things worth confirming before you hit publish:
One thing I’d flag about CapCut specifically: there’s a CapCut Materials License Agreement that’s worth reading before you post anything for a client or a brand. From what I can tell, there’s a difference between their regular “Sounds” and what they label “Commercial Sounds,” and even the commercial ones seem to come with some platform-specific restrictions. I’m not the right person to interpret the fine print for you — but the agreement page is there, and I’d read it yourself before assuming you’re covered everywhere. For anything outside CapCut’s library, the license terms are between you and the music source.
I’ve run through all four methods enough times to say: they all work, and they all have ceilings. The biggest ceiling for most people isn’t the editing — it’s starting a project with no idea what music would even fit, and spending longer searching than actually editing.
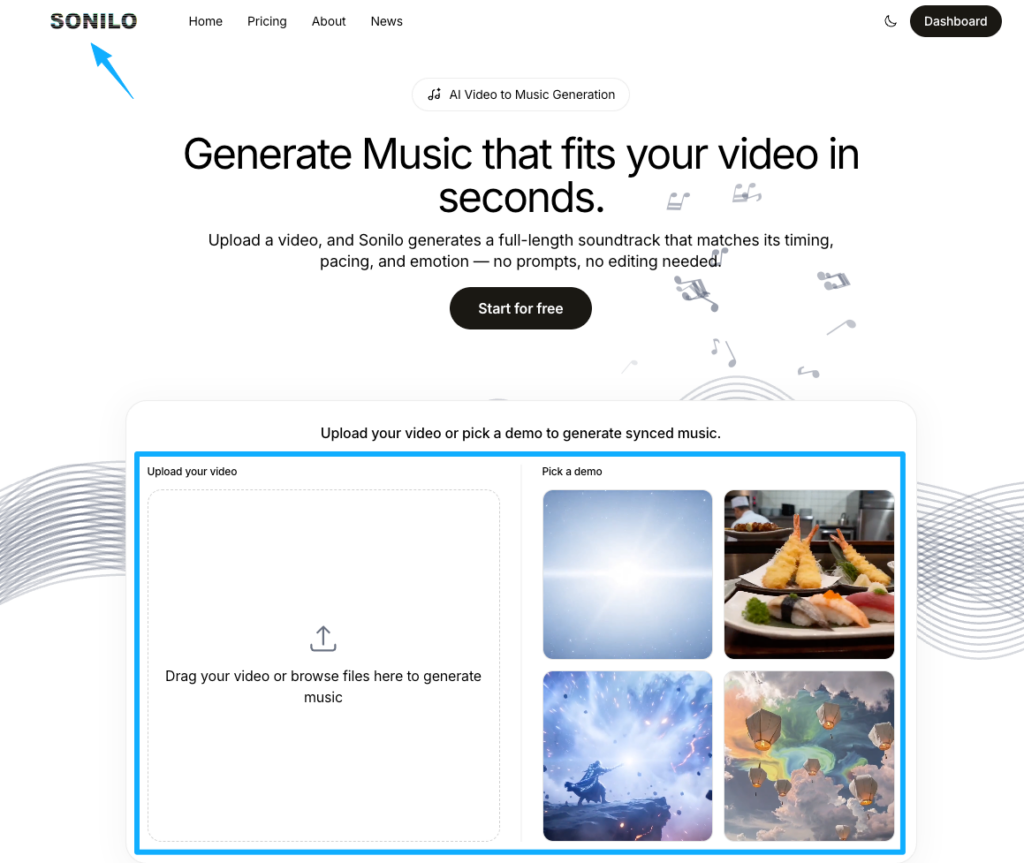
If that’s where you tend to lose time, it’s worth knowing there are tools built specifically for the music-selection problem. Sonilo is one I’ve been testing — you upload a video and it generates custom soundtracks matched to the length and feel of the footage. The free plan gives you 200 credits every two weeks, enough to try it on a few real projects and see if the results actually fit your work. Give it a try if you’re curious.
What’s the part of the music step that slows you down the most — finding something that fits, or dealing with it once you’ve chosen a track?
Recommended Reads