Get Marketing Insights First
Subscribe to receive actionable strategies, growth tips, and industry insights delivered straight to your inbox.

I had 45 minutes before a client needed a rough cut, and my laptop didn’t have Premiere installed. Just a browser, a video file, and a folder of music tracks I’d cleared for the project. The question wasn’t “what’s the best video editor.” It was simpler than that: can I merge these two files online, right now, without losing an hour to setup?
That afternoon taught me more about browser-based tools than months of casual use had. Some of them are fast and surprisingly capable. Some will eat your time in ways you don’t see coming — watermarks you discover after export, file size limits that kick in mid-upload, audio sync that drifts by a few frames and makes the whole thing feel off.
This guide covers four categories of online tools for adding music to a video, how each one actually works in practice, and the things worth checking before you commit your file to any of them.
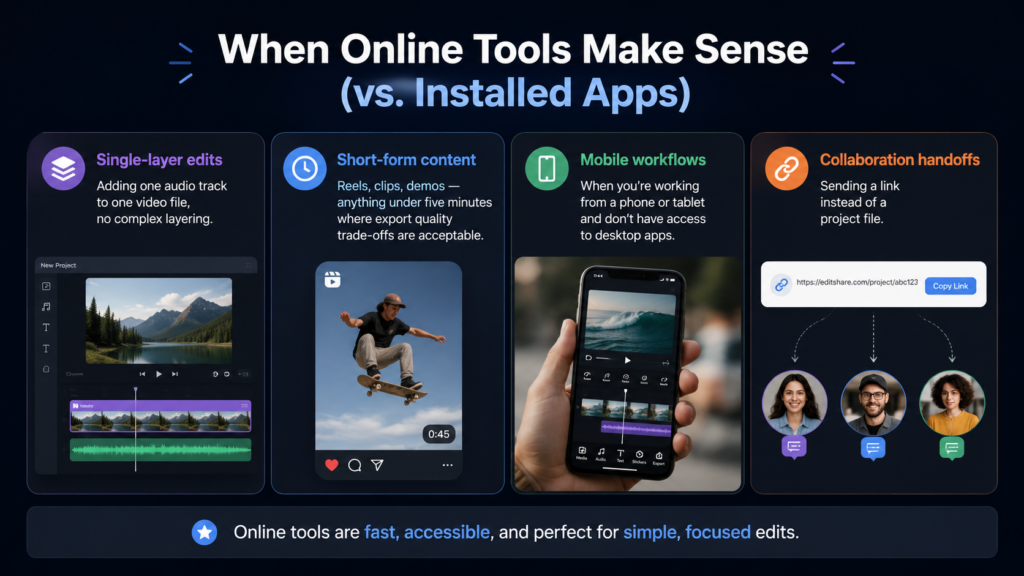
The honest answer: online tools make sense when friction matters more than features.
If you’re on a machine that doesn’t have your usual software, or you’re handing something off to a collaborator who doesn’t edit professionally, or you need a quick merge and you’re not about to open a full NLE for a three-minute video — browser-based tools are a real option.
Here’s where they genuinely hold up:
Here’s where they fall short:
One thing I keep coming back to: the decision usually isn’t about the tool itself — it’s about whether the output quality is good enough for the specific destination. A quick merge for a social post is different from prepping a file for a client presentation.
Before you upload anything, there are a few things worth checking. I’m not going to tell you which specific platforms to trust — that changes, and their privacy policies matter more than what I say about them.
File handling: Does the tool delete your upload after processing, or does it retain files on their servers? Look for this in the privacy policy or FAQ, not just the homepage. HTTPS connection is baseline — if a site is still serving over HTTP, close the tab.
Watermark policy: Many free tiers add a watermark. The problem is that some tools don’t tell you clearly until after you’ve exported. Look for this information before uploading, not after. It’s usually in the pricing page or the FAQ.
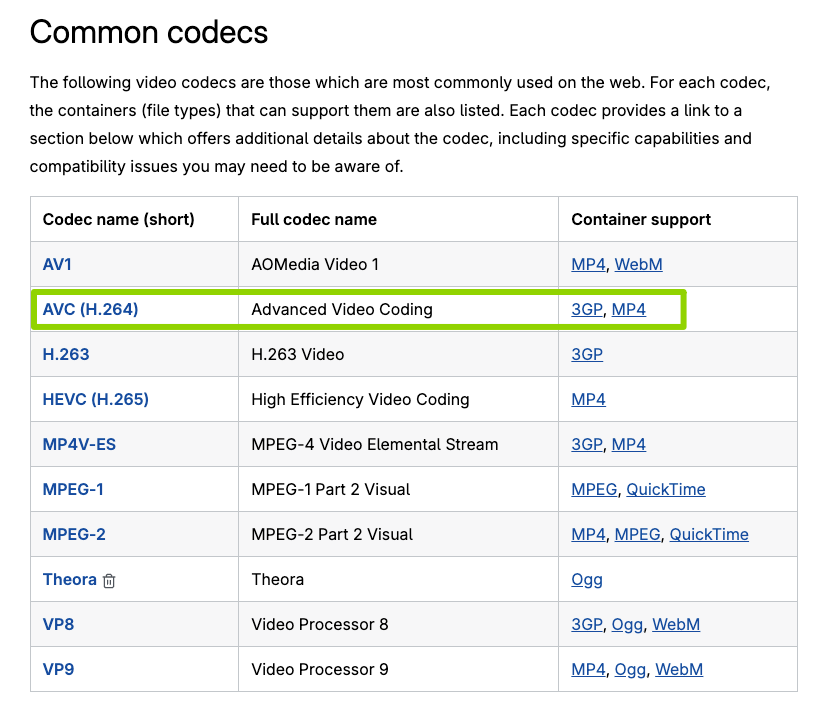
Format and codec support: Most online tools handle MP4 (H.264 video codec) and MP3/AAC reliably. If you’re working with MOV files, ProRes, or anything from a camera that encodes in a less common format, test with a short clip first.
Export resolution and bitrate: “HD export” on a free tier can mean a lot of different things. Some tools preserve your original resolution; some compress it down noticeably. If the output quality matters, do a test export before committing your full file.
Audio sync accuracy: This one only shows up after you’ve tried it. A tool that looks perfect in the browser preview can have a few-frame drift in the exported file. For talking-head videos or anything where lip sync matters, this is worth checking on a short test clip first.
This is the closest you’ll get to a traditional editing experience in a browser. These tools give you a visual timeline where you can place your video and audio on separate tracks, trim both, and adjust where the music starts and ends.
The workflow feels familiar if you’ve used any NLE. The difference is latency: browser-based rendering is slower, and exports can take longer than you’d expect for files above a few minutes.
One thing worth knowing: most of these tools apply automatic audio ducking when you add a music track. That’s useful if you want background music, but if your video has dialogue you want to preserve, look for a separate volume control for each track before you start editing.
Short clips where you need more control than a simple merge — adjusting when music fades in, trimming a verse, or matching a track to a specific section of the video. Works on desktop; mobile experience is inconsistent across tools.
These are simpler than timeline editors. You upload a video, upload an audio file, and the tool combines them. No tracks, no trimming interface — just a merge.
The whole thing usually takes under a minute for short clips. The trade-off is control — you can’t adjust where the audio starts, trim it to match the video length, or layer multiple tracks.
When you have a music file that’s already the right length, or when you need a fast merge and you’ll do any fine-tuning in a separate app afterward. Also genuinely useful when you’re handing off a task to someone who doesn’t edit professionally — the interface is simple enough that there’s almost nothing to explain.
This category is worth separating out because the workflow is meaningfully different.
Instead of bringing your own audio file and merging it, you upload your video and the tool generates music that fits the content. The pitch is that it understands what’s happening in the video — the pacing, the mood, the length — and creates a soundtrack to match.
I’ve been watching this space for a while. The length-matching piece is the part that actually works in ways that matter to a real editing workflow. Finding a track that’s already 2:47 long to match your 2:47 video is its own project. Having the music generated to that exact length is a different experience.
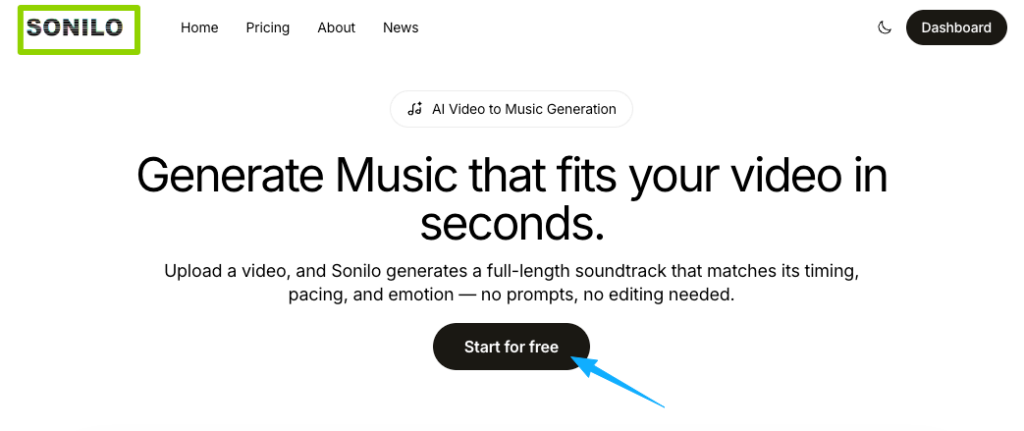
Sonilo is built specifically around this — it analyzes your video and outputs a custom soundtrack matched to the duration. For video creators who want music that fits the cut without the stock-library hunt, it’s worth a real test. You can try Sonilo for free and see how it handles your actual footage.
A few things to know going in, based on how this category of tool generally works:
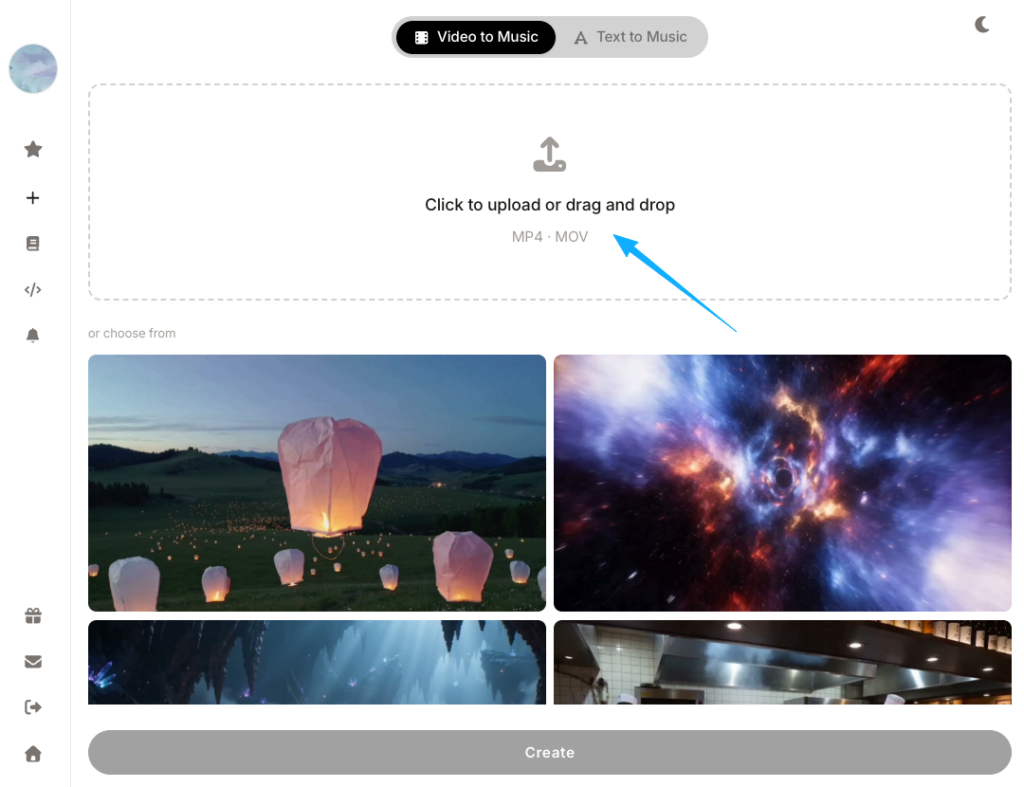
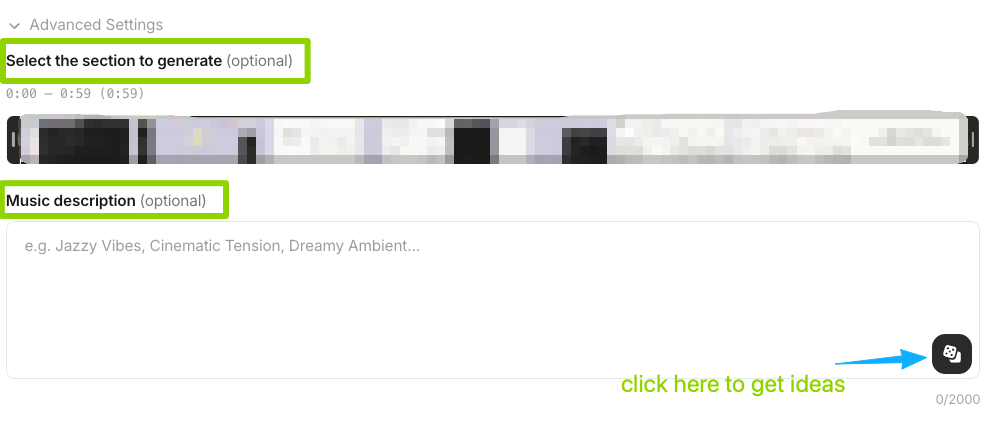
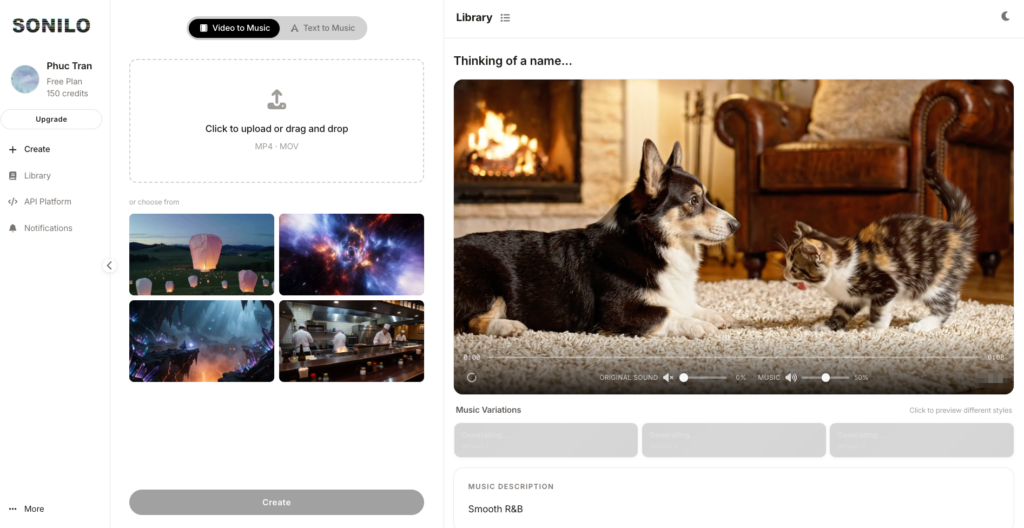

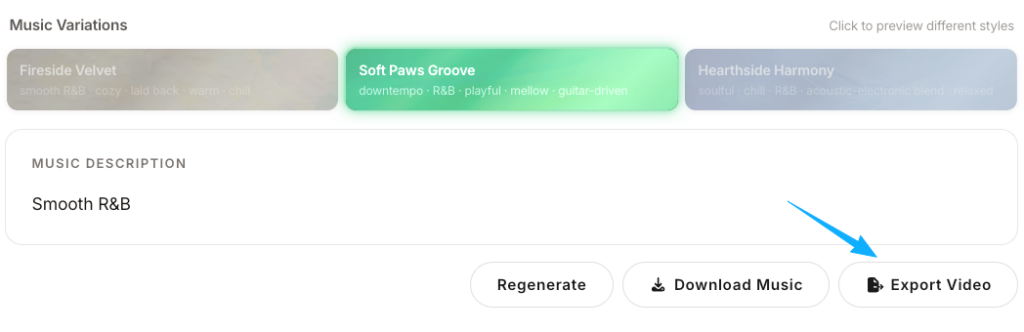
Creators who don’t have a music library, or who want something that feels less like stock and more like it was made for the video. Also useful when the video length is unusual — not a round number of seconds — and trimming stock music to fit would take longer than it should.
This is the closest to a proper editing environment you’ll find in a browser. These tools save your project to the cloud, which means you can close the tab and come back to it — something the simpler merge tools don’t support.
If your video is over five minutes, or if you’re working on something you’ll need to revise, this is the category worth looking at. The workflow is similar to a timeline editor, but with project management on top — named projects, version history in some cases, and collaboration features that let you share a link instead of a file.
The trade-off is that these tools are more complex to navigate, and the free tiers are often more restrictive on exports. Most will limit you to a certain number of exports per month, or cap resolution on the free plan.
One thing that matters here: your video and audio files live on their servers while the project is open. The privacy implications of that are worth understanding before you upload anything sensitive — footage of clients, unpublished work, or anything that shouldn’t be on a third-party server.
A few things that trip people up:
File size limits: Most free tiers cap uploads somewhere between 500MB and 2GB. Raw video from a mirrorless camera can hit that ceiling fast. If you’re working with original camera files, compress to H.264 first before uploading.
Audio format: MP3 is universally supported. WAV files are accepted by most timeline editors but not all merge tools. If you’re working with FLAC or AIFF, convert to MP3 or AAC before uploading — it’ll save you troubleshooting.
Frame rate matching: Online tools generally don’t transcode frame rates. If your video is 24fps and you’re importing music that was generated for a 30fps preview, the audio won’t drift — but if you’re combining clips from different sources, frame rate mismatches can cause sync issues that show up in the export. This relates to how browsers handle video rendering internally when processing multiple media sources.
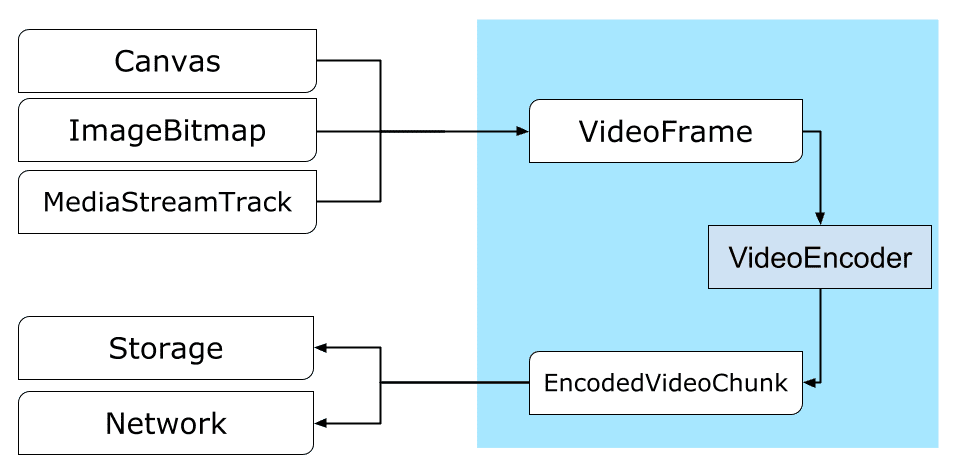
Export codec: Most online tools export MP4 with H.264. That’s fine for YouTube, social, and most client deliverables. If you need ProRes or another lossless format for a post-production pipeline, online tools are the wrong category.
Here’s the part that confused me at first — and that I’ve seen catch other editors off guard:
Exporting before previewing on the actual platform: The in-browser preview is not the same as how the file will look on YouTube or Instagram. Color and audio treatment can differ. Do a quick test upload before publishing anything to a client.
Not checking audio levels against dialogue: Background music that sounds reasonable in a merge tool can overpower dialogue when you watch it back on speakers at normal volume. Set the music track noticeably lower than you think you need to — somewhere between -12dB and -18dB relative to dialogue is a reasonable starting point if the tool gives you dB controls.
Uploading original files without a backup: This shouldn’t need to be said, but: keep your originals local before uploading to any browser-based tool. Tools go down, uploads fail, and accounts get locked. The original file is your fallback.
Trusting the preview for sync accuracy: Browser previews can lag. The exported file is the truth. For anything where audio sync matters — a music hit on a cut, a lyric landing on a frame — export a short test clip and check it before processing the full video.
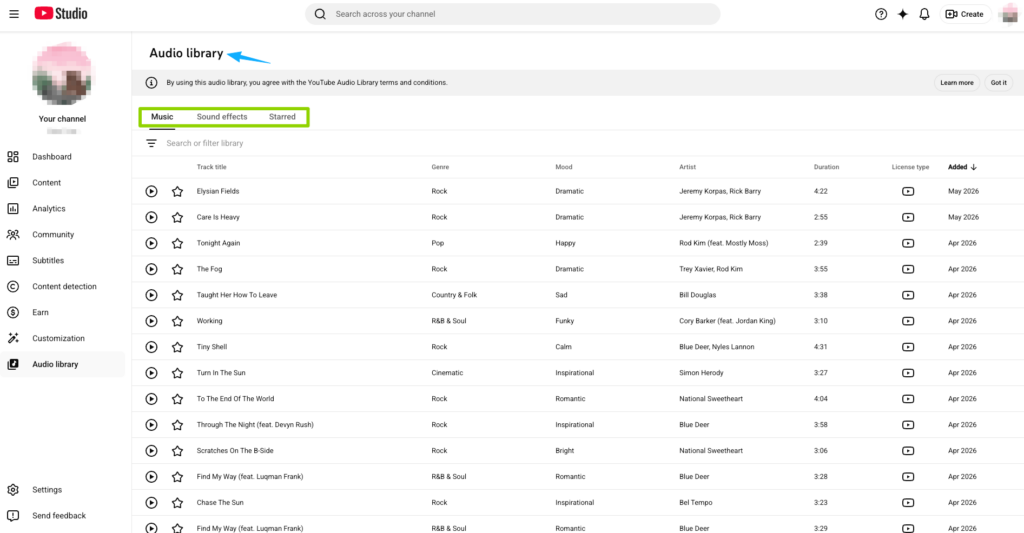
Using copyrighted music from your personal library: Online merge tools don’t do rights management — they’ll combine whatever you give them. The responsibility for music licensing is entirely yours. If you’re using music you didn’t clear, adding it to a video online doesn’t change the underlying rights situation. YouTube’s Content ID claims system works regardless of where or how you merged the audio. For anything that’s going public, the YouTube Audio Library is one of the few places where YouTube itself has published documentation about how the music can be used — I’d read that page before assuming it covers your specific situation.
Worth checking a few things before uploading: Is the site served over HTTPS? Does the privacy policy explain how long they retain uploaded files and whether they use them for anything beyond processing your request? “Free” services often store more than you’d expect. I’m not going to tell you which tools are safe to use — that changes, and your situation (client footage vs. personal content) matters. Look for tools that explicitly state they delete files after a set period, and read the privacy policy rather than the homepage copy.
Most free tiers sit between 500MB and 2GB per upload. Paid plans often go higher. If you’re uploading raw footage from a camera, you’ll hit these limits quickly — compressing to H.264 before uploading will help. Some tools also have a duration limit (10 minutes, for example) rather than a file size limit, so check both.
Watermarks are common on free tiers. The tools that are upfront about this will tell you before you export — look for it in the pricing page or FAQ before you start. Some don’t tell you until after you’ve exported. If the export is for anything you’re publishing publicly or sharing with a client, find out watermark status before you invest time in the edit.
There are a few approaches. If the tool has a trim function, cut the audio to match the video length exactly. If you need the music to be longer than the available track, some timeline editors have a loop function that repeats the audio seamlessly — though the quality of that loop varies. The most consistent approach: use a music source where the track is already close to your video length, or use an AI soundtrack tool that generates to the exact duration. That second option removes the length-matching problem entirely.
Most browser-based tools work on mobile, but the experience varies significantly. Simple merge tools (upload video, upload audio, combine) generally work fine on mobile. Timeline editors are harder to use on a small screen — precise trimming and track placement become frustrating. If you’re on mobile, look for tools with a simplified mobile interface rather than trying to use a desktop timeline editor in a phone browser. The AI soundtrack tools that generate music from video uploads also tend to work reasonably on mobile, since the interaction is mostly uploading and waiting rather than precise editing.
If you’re specifically looking at how to add music to a video on iPhone or add music to a video on Android, those workflows have their own tool options worth exploring separately.
It depends heavily on the tool and the tier. Many free plans export at 720p or 1080p with some compression. The bitrate is often lower than what you’d get from a desktop export at the same resolution, which means you might see compression artifacts in fast-moving scenes. For social content, this is usually acceptable. For anything going into a broadcast or post-production pipeline, it’s not.
Some tools let you process and download without an account. Others require registration even for the free tier. The distinction matters because creating an account means your projects and uploads are associated with a profile — check their data retention terms if that’s relevant to your work. Tools that don’t require registration tend to delete your files faster after processing, which is either reassuring or inconvenient depending on your workflow.
Dedicated apps — desktop editors, mobile editing apps — give you more precision, better export quality, and more control over audio mixing. Online tools trade some of that for convenience: no install, accessible from any machine, shareable via link. For most content creator workflows, the right answer is both: use a desktop app for anything complex or high-stakes, and keep a browser-based tool bookmarked for quick merges and collaborative handoffs. The gap between them has narrowed over the last few years, but dedicated apps still win on audio sync precision and export quality at the upper end.
If the part of this process you find most tedious is finding music that actually fits your video — not just merging files, but choosing the right track — it might be worth looking at how AI soundtrack generation fits into your workflow.
Sonilo is built specifically for video creators who want custom music matched to the visual and duration of their cut. It’s free to try. If you want to see how it handles your own footage, go try Sonilo — it takes about as long as uploading the video.
What’s the part of adding music to video that slows you down most right now — is it the finding, the fitting, or something that happens after the merge?
Recommended Reads