Guides
How to Add Music to CapCut and Keep the Edit Balanced
- Written by
- Sonilo Team
- Published
Adding music to CapCut is simple. Keeping the edit balanced takes more care. A soundtrack should support the pace of the video without covering the parts that already matter: speech, original camera sound, reactions, product sounds, or natural ambience. TikTok creators face a parallel constraint: a practical guide on how to use copyrighted music on TikTok should separate Commercial Music Library tracks, original audio, and licensed AI generation before the video is posted.
The cleanest workflow is to choose the music source first, place the track in the timeline, align it with the opening and ending, then check whether the music supports the edit instead of competing with it.
Choose the music source before opening the timeline
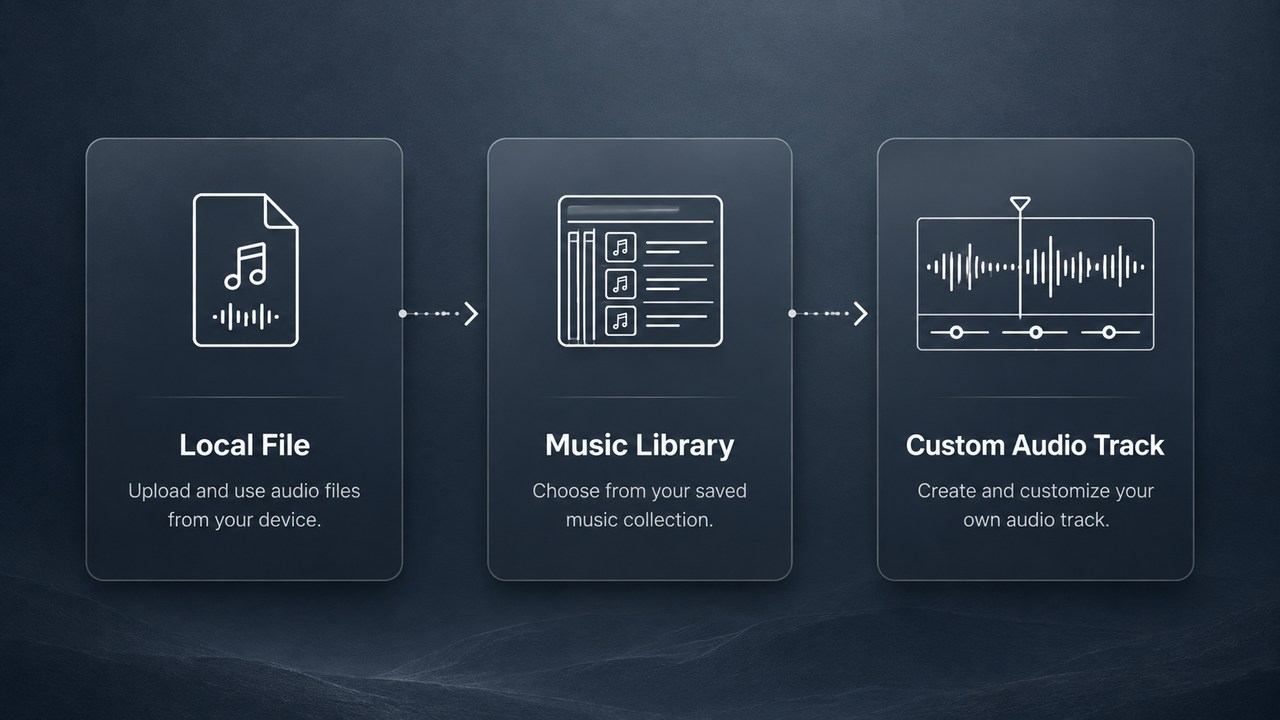
Before you add music to CapCut, decide where the track is coming from. This matters because imported audio, CapCut’s in-platform music library, and a custom soundtrack are not the same thing.
If you import your own audio file, you are responsible for having the rights to use it. CapCut’s Terms of Service say users are responsible for their content and should back up content they value. Its Materials License Agreement is more specific about music: if music was not selected from a licensed CapCut library, the user needs to be sure they have the rights or permissions to include it in the video.
If you choose an available in-platform track, check what kind of track it is and where you plan to publish the final video. CapCut’s Materials License Agreement states that Sounds are generally intended for personal entertainment and non-commercial use, while Commercial Sounds have separate permitted-use rules. It also says uses of Commercial Sounds outside CapCut, TikTok, and TikTok for Business require separate permission from the necessary rights holders.
A custom-length soundtrack is different again. That could be a track you create, license, commission, or generate outside CapCut so it already matches the video length before import. It can reduce trimming work, but it does not remove the need to confirm usage rights.
Add music to a CapCut video project
CapCut is available on mobile, desktop, and web, so exact labels may vary by device, region, account type, and app version. The core workflow is similar: open your project, add or import audio, place it on the timeline, and preview it against the video.
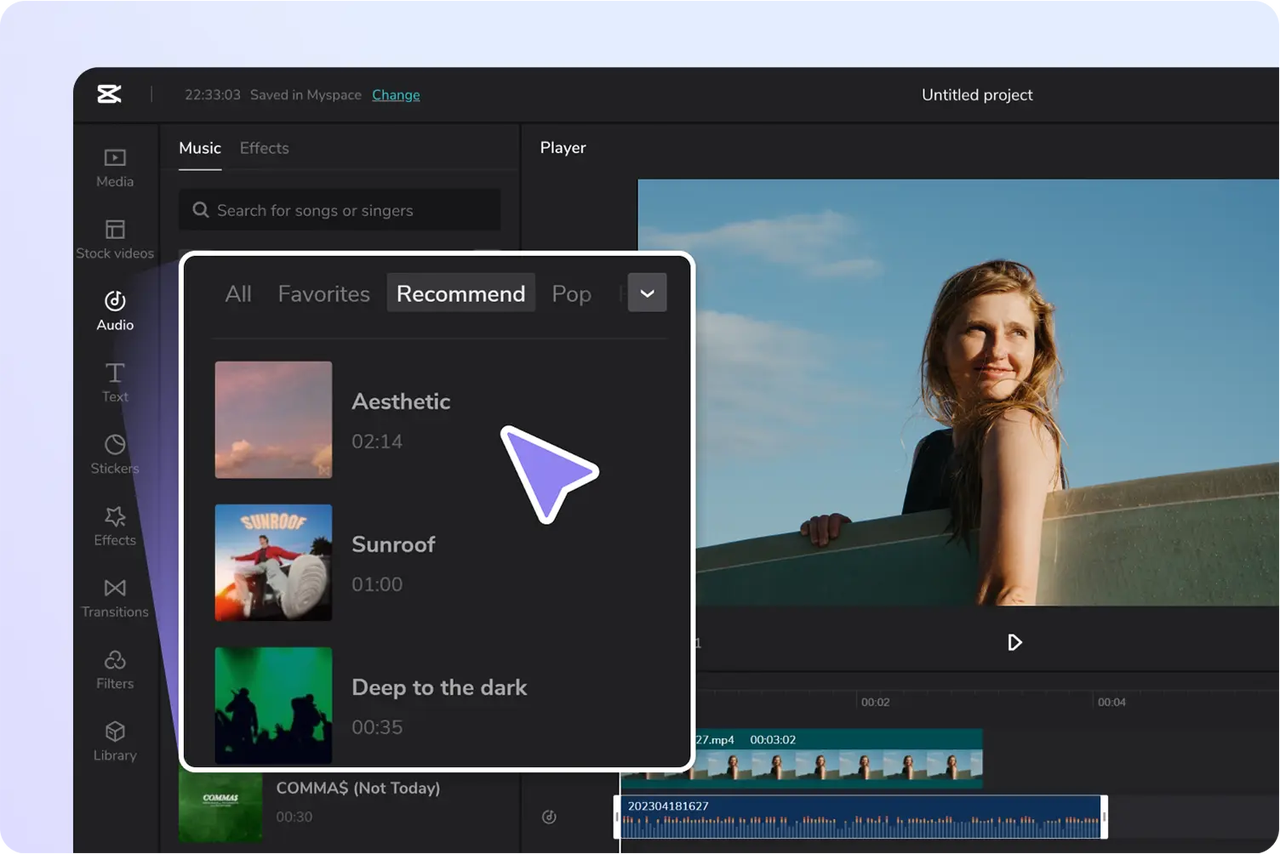
CapCut’s own page for adding audio to video describes the online workflow as uploading a video, going to the Audio section, selecting music, then adjusting the audio by trimming, changing volume, or adding fade-in and fade-out effects.
Import an audio file
Use this route when you already have a music file saved on your device or in a supported storage location.
Start by opening the CapCut project and importing your video. Then add the audio file from your device into the project media or timeline. On desktop and web, this usually means using an import or upload option. On mobile, it may involve adding audio from your device or saved sounds, depending on the app version and permissions.
Once the file is in the timeline, place it under the video where the soundtrack should begin. If the music needs to support the entire video, let it run under the full edit first. You can trim and refine it later.
For long-term projects, keep the original audio file. CapCut’s help article on missing favorite music says locally imported audio files on desktop are not expected to disappear unless they are deleted from the computer. More broadly, CapCut’s help article on local assets and albums explains that local media access depends on the original file location, device storage, and permissions. Keeping the original files reduces the risk of missing media when you return to the edit.
Use an available in-platform track
Use this route when you want to browse CapCut’s built-in music options. After choosing a track, add it to the timeline and play the first few seconds of the edit. Do not assume the first track that matches the mood will fit the timing. A song may have a long intro, a sudden beat drop, or a vocal section that distracts from speech.
Also check the track’s availability and license context. CapCut’s help page on disappearing favorite music says music from the CapCut Audio Library may become unavailable because of licensing restrictions, regional limits, platform differences, or account and sync issues. For important work, avoid treating an in-platform track as permanently available until the video has been exported and archived.
Align music with the opening and final frame
After adding music to CapCut, line up the track with the structure of the edit.
Start with the opening. Ask whether the first beat, first chord, or first noticeable sound supports the first visual moment. If the video begins with speech, you may want the music to start softly after the first phrase. If the video opens with a visual hook, a stronger first beat may work better.
Then check the ending. A soundtrack that ends half a second too early can make the final frame feel unfinished. A track that keeps going after the video has visually ended can feel loose. Trim the music so the final beat, fade, or tail lands naturally with the last shot.
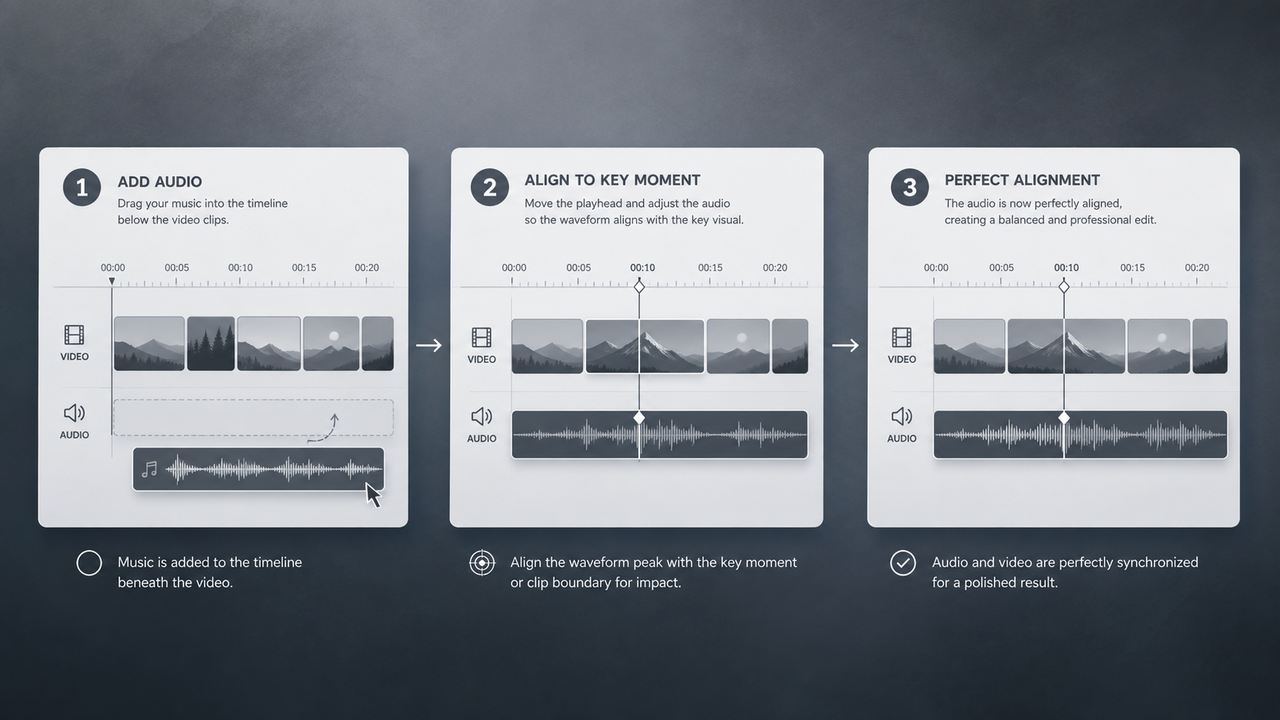
CapCut’s add-audio page lists trimming and fade-in/fade-out as common audio adjustments. Use those lightly: a short fade can hide a rough cut, but it should not feel like the music is randomly disappearing.
Keep voice and important original sound clear
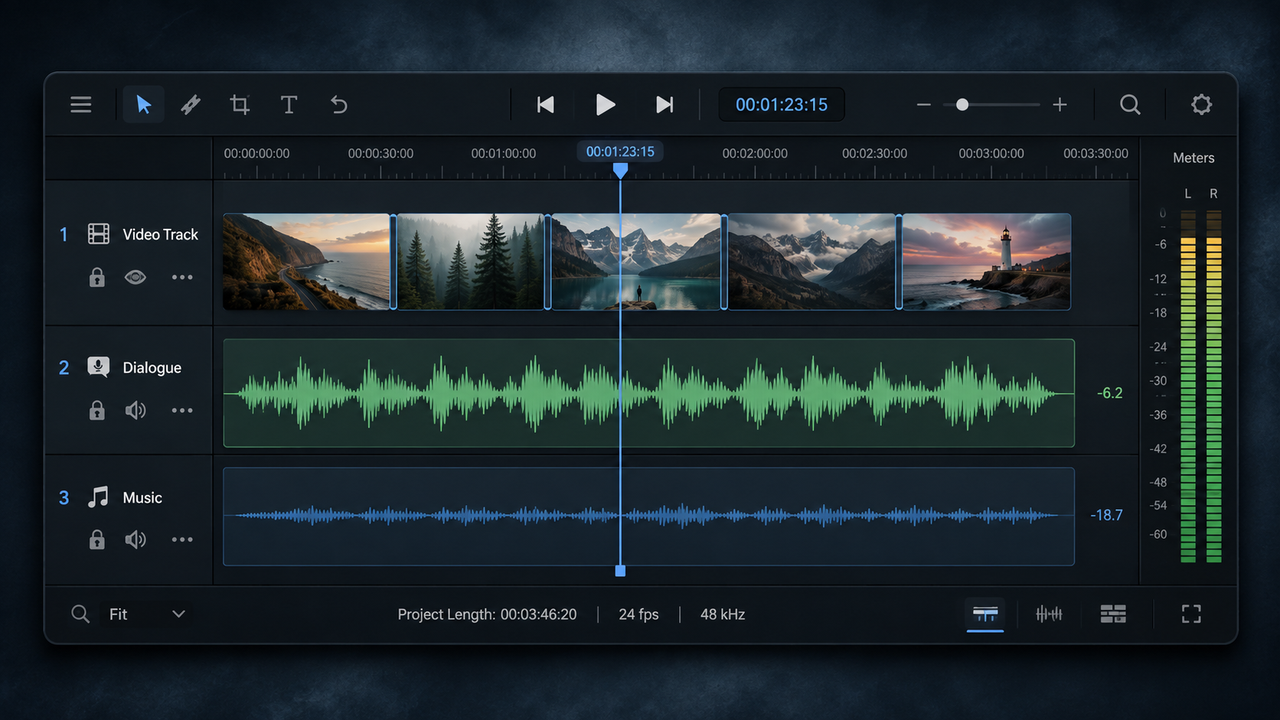
Music should not bury the reason the viewer is watching. If the video has talking, tutorials, interview clips, reactions, or meaningful original sound, preview those parts carefully after adding music.
This page should not turn into a full CapCut volume tutorial, but the practical rule is simple: if speech becomes harder to understand, lower the music or adjust the timing. CapCut’s add-audio page mentions volume adjustment as part of the audio-editing workflow, but the final judgment should come from listening to the video in context.
Preserving original sound does not mean keeping everything loud. A cooking clip may need sizzling and chopping, but not every background noise. A travel clip may benefit from street ambience, but not wind rumble. A product demo may need button clicks or mechanical sounds, but not room echo.
Play the edit once while focusing only on speech or original sound. Then play it again while focusing only on the music. If both passes feel intentional, the soundtrack is probably close.
When custom-length music reduces trimming work
Sometimes the easiest way to edit music on CapCut is to avoid fighting the track inside the timeline. If your video is exactly 37 seconds, but the song’s best ending happens at 52 seconds, you may spend more time trimming, fading, and hiding cuts than the edit deserves.
A custom-length soundtrack can help in three cases.
First, use it for short social videos where the ending needs to land cleanly. Second, use it for branded or recurring formats where the music should feel consistent across multiple videos. Third, use it for edits with narration, where the music needs to stay out of the way during specific lines.
This is where a tool like Sonilo can sit next to CapCut in the workflow: create or prepare music at the duration you need, export the audio file, then import it into CapCut for final placement. Keep the distinction clear, though. A custom soundtrack is a source choice, not a CapCut library track, and its rights should be checked separately.
Common CapCut music-editing mistakes
One common mistake is choosing music before the video has a shape. If the edit is still changing, the soundtrack will keep needing repairs. Rough-cut the video first, then add music.
Another mistake is treating all CapCut audio sources as equal. Imported files, in-platform Sounds, Commercial Sounds, and custom soundtracks can have different usage rules. Check the source before publishing, especially for client work, ads, or brand channels.
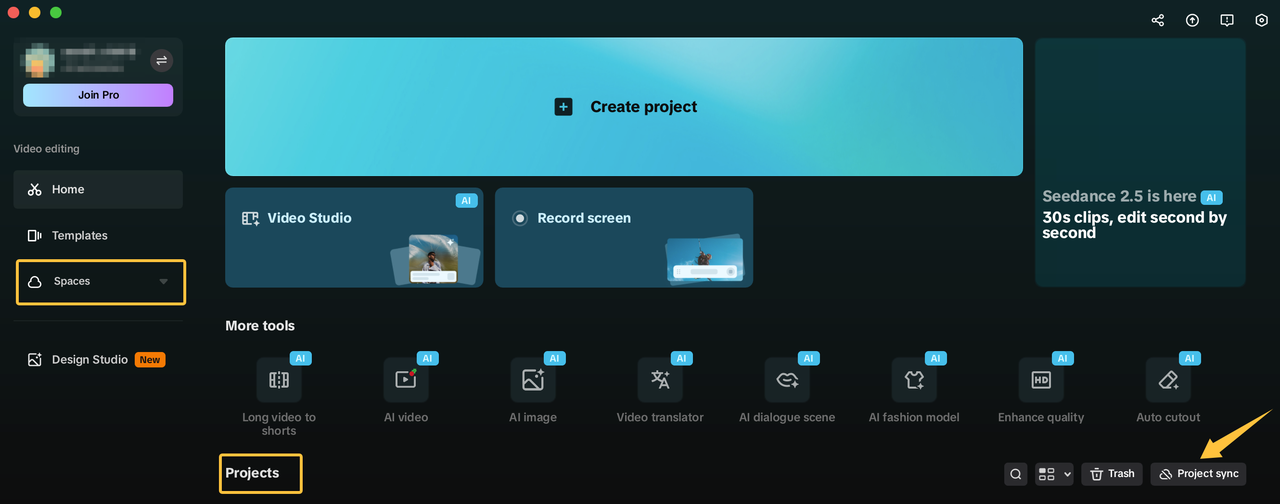
A third mistake is ignoring platform and storage differences. CapCut’s documentation describes differences between platforms and storage methods: its history project help page says cloud projects need to be uploaded to Spaces for cross-platform cloud use, while local projects may remain in a local project view; its import troubleshooting page also notes that local asset visibility can depend on category selection, device permissions, browser or app state, and where the files are stored.
A final mistake is trusting the timeline preview without checking the export. Export a draft and listen to the actual file before publishing. Preview playback can be affected by device performance, while the rendered file is what viewers will hear.
FAQ
What happens to audio when a CapCut project moves devices?
CapCut provides cloud-based project access options, but availability depends on account, sync settings, and project storage method. CapCut’s history project help page says projects must be uploaded to Spaces to support cross-platform cloud use, and that local projects may appear only in the local project area. If imported audio matters, keep the original audio files backed up before moving devices.
Why can a previously saved CapCut sound disappear later?
CapCut says library music can disappear because of licensing restrictions, platform limitations, regional availability, or sync and account issues. A track that worked before may later appear unavailable if its license or availability changes. For long-term projects, keep a local audio backup when possible and export a finished version promptly.
Should creators retain a record of imported audio sources?
Yes. Keep the file name, source, license, purchase record, creator permission, or generation details for imported music. This is especially important if the video is for a brand, client, ad, monetized channel, or reusable campaign.
When should a team keep an older soundtrack version?
Keep an older soundtrack version before replacing music in a published, client-reviewed, or approved edit. A previous export helps the team compare timing, confirm what changed, and restore the old version if the new music creates rights, pacing, or approval problems.