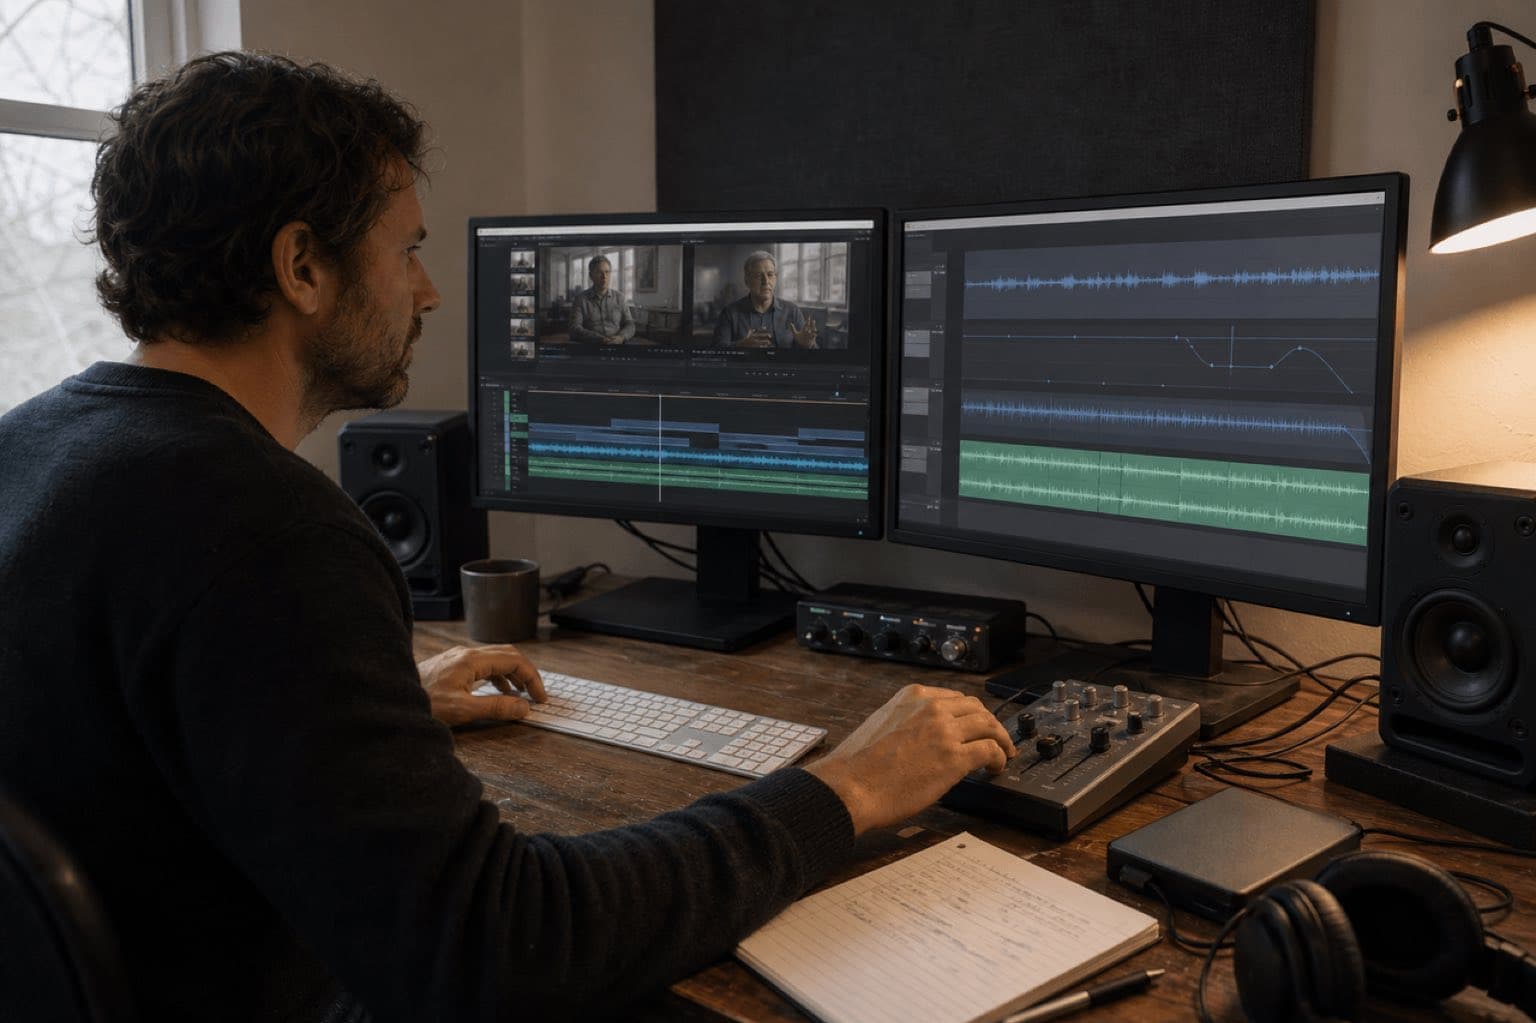
Sonilo publishes this guide and appears as one option for generating original music before importing it into Premiere. Adobe did not sponsor or review this page, and there are no affiliate links. Adobe controls Premiere, Adobe Stock, interfaces, plans, and licensing terms. This is production guidance, not legal advice.
Last verified: August 21, 2026. This is a staged replacement for Sonilo's existing article at the same canonical URL, not a second competing page. Current Adobe documentation covers Project and Media Browser import, Timeline placement, Properties audio controls, clip and track keyframes, Auto Ducking, Remix, crossfades, Adobe Stock audio, and export.
Use one control for each kind of change
Change one music clip
Select the clip and use Properties or clip keyframes. This follows the clip when it moves and is the clean default for a single cue.
Control an entire music lane
Use track keyframes or Audio Track Mixer when several clips on the same track need a shared level or automation.
Approach a target duration
Let Premiere analyze beats and rearrange sections. Use it when a natural manual trim is not enough, then inspect every edit.
Open space for speech
Tag audio types in Essential Sound, generate reduction keyframes, and refine them rather than accepting the first pass blindly.
For a short music-only montage, import, trim, set clip volume, fade, and export. For a narrated client piece, separate tracks, tag audio types, use keyframes or ducking, retain the license record, and check the mix on the final encoded file.
01
How to add music to Premiere Pro step by step
Put the source file in a stable project folder
Move the approved music out of Downloads, chat attachments, and temporary locations. Use a name that carries project, cue, version, and duration. Premiere clips link to the source media; they are not independent copies.
Import the audio
Use Import mode, File > Import, Media Browser, or drag the file into the Project panel. Adobe's current Add clips documentation also allows dragging a clip from Project, Source Monitor, or Media Browser into the Timeline.
Preview and identify the useful range
Double-click the music in the Project panel to open it in Source Monitor. Listen for the first usable phrase, natural edit points, changes in density, and the ending before placing it.
Place it on a dedicated audio track
Drag the music below the video tracks, ideally away from dialogue, production sound, voiceover, and sound effects. A dedicated lane makes mute, lock, selection, automation, and handoff safer.
Position and trim around picture
Move the first useful musical event to the visual moment it supports. Trim the head and tail like a video clip. Do not force the file's original beginning to frame one when the edit needs a different entrance.
Set an initial level
Select the clip and use the Properties panel Volume slider. Properties also exposes mute, panning where applicable, and keyframe access. Make a conservative first balance before adding detailed automation.
Review, fade, and export
Listen through the complete sequence, shape dialogue handoffs and ending, add the appropriate fade, then export and watch the rendered file from beginning to end.
The Project panel stores a reference to the media. If you rename, move, disconnect, or delete the source, the clip can go offline. Keep music, license evidence, and project media together; use Link Media when the original path changes.
02
Organize music, dialogue, and effects before mixing
A clean track layout reduces accidental edits. One practical starting point is A1–A2 for production dialogue, A3 for voiceover, A4–A5 for sound effects and ambience, and a later stereo track for music. This is an editorial convention, not an Adobe requirement; adapt it to mono, stereo, multichannel, or delivery needs.
Name tracks by function
Labels such as DX, VO, SFX, AMB, and MUS make targeting obvious. Color labels can help, but readable track names survive screenshots, handoffs, and different displays.
Keep music edits nondestructive
Shorten and duplicate timeline instances without overwriting the source file. Store alternate cues in a bin rather than replacing one file under the same name.
Choose clip or track automation deliberately
Clip keyframes belong to one clip and travel with it. Track keyframes apply to the track. Adobe's Show Keyframes menu distinguishes Clip Keyframes, Track Keyframes, and Track Panner.
Watch channel mapping
If a file appears on an unexpected track type or plays incorrectly, inspect source channel mapping and sequence tracks before applying effects. Fix structure before compensating with gain.
For imported audio quality, Adobe says Premiere processes audio internally as 32-bit floating point at the sequence sample rate. It supports common native sample rates including 44,100 Hz and 48,000 Hz, while compressed files may be conformed. Starting with a high-quality WAV or AIFF is useful for a final master, but a valid MP3 can still be practical for a lightweight draft.
03
Trim manually or use Remix to fit the music to the edit
Best when a natural phrase already fits
Cut on a downbeat, phrase end, rest, or section change. Hide a repeated section with a crossfade only when rhythm, harmony, instrumentation, and ambience agree.
Best when the whole structure must contract or expand
Tag the clip as Music and enable Remix in Essential Sound, set Target Duration, and adjust Segments and Variations. Premiere analyzes transition points and creates a new arrangement.
Adobe states that Remix finds a result within 5 seconds of the target and typically within 1 second; exact accuracy depends on tempo, structure, available transitions, Segments, and Variations. Strong intros and outros remain unchanged. Treat the duration as a proposal, not picture lock: inspect every seam for a missing pickup, doubled vocal, broken reverb, harmonic jump, or misplaced accent.
Use fewer edits for a repetitive or simple cue when continuity matters more than exact duration. A large number of invisible technical cuts can still make musical phrasing feel restless.
Give a dynamic song more transition options when the edit needs a larger duration change. Review the first phrase, primary build, climax, and final cadence after every change.
If Remix cannot reach the frame you need without audible damage, shorten the picture, make a manual music edit, choose another cue, generate a custom-length track, or finish in Adobe Audition. Do not hide an unsuitable track behind increasingly complex automation.
04
Set music volume and duck it under dialogue
There is no universal background-music number. Arrangement density, speaker, recording quality, platform normalization, room noise, and viewer device all change the balance. Adobe's beginner tutorial mentions keeping track levels around –6 to –3 dB for many audio projects, but that is not a rule for background music under speech; use meters to prevent overload and listening to protect intelligibility.
Fast clip adjustment
Select one or several clips and change Volume, Mute, Pan, or keyframes. Use this for a broad starting balance.
Local musical moves
Add at least two Volume keyframes to change level over time. Four keyframes create a controlled dip and recovery around one phrase.
Shared automation
Use when every music clip on the track should follow the same automation lane. Avoid it when one cue needs independent treatment.
Track and master control
Play or loop the sequence while adjusting track faders, then review automation and total output rather than trusting the fader position alone.
Use Essential Sound Auto Ducking as an editable first pass
- Tag speech clips as Dialogue and the music clip as Music.
- Enable Ducking on the music and select Dialogue under Duck Against.
- Set Sensitivity, Duck Amount, Fade Duration, and Fade Position for the pacing.
- Select Generate Keyframes to write the reduction to the added Amplify effect.
- Listen through words, pauses, interruptions, and music-only gaps.
- Move, remove, or add keyframes where the algorithm interpreted the scene incorrectly.
Adobe warns that regenerating ducking keyframes overwrites manual changes to those generated keyframes. Save or duplicate the sequence before a major rerun when you may need to compare versions. For a file-based alternative before import, Sonilo Audio Ducking can preprocess music around foreground speech, but it does not edit Premiere's timeline or replace final listening.
05
Generate music around the picture, then import it into Premiere
Use Premiere when an existing licensed track already fits and the work is mainly editorial. Use Sonilo Video-to-Music when the soundtrack should start from the actual cut; use Text-to-Music when you have duration, mood, instrumentation, energy curve, cue points, and exclusions but no locked video. This is a download-and-import workflow, not a claimed Adobe extension.
Lock the story before generation
Remove placeholders and stabilize duration. Note voiceover ranges, key reveals, transitions, silence, and the final frame.
Write a timing-aware brief
Describe exact seconds, purpose, density under speech, energy changes, instrumentation, cue points, ending, and forbidden elements.
Compare against the sequence
Judge picture, narration, typography, and transitions together. The best isolated track may be the wrong soundtrack once voice and edit rhythm are present.
Download with a durable name
Include project, cue, duration, version, and date. Store the file beside the project media and import it through the Project panel.
Finish and retain evidence
Trim, automate, fade, export, then keep the output, prompt, plan, terms, client, channel, territory, and approval note with the project.
Restrained documentary underscore for a 45-second interview opening; warm felt piano, soft low pulse, sparse bowed texture; gentle identity in first 3 seconds; reduce density from 6 to 34 seconds under dialogue; lift at 36.5 seconds as the location opens; resolved ending at 44.6 seconds; no vocals, no sharp percussion, no trailer swell, no exposed solo.
Precise modern instrumental for a 30-second product edit; tactile electronic rhythm, muted bass, clean tonal motif; small cue at 4.2 seconds, reveal accent at 11.8, quieter bed from 14 to 23 under voice, confident final cadence at 29.7; no vocal chop, no cymbal wash, no long reverb tail.
For broader music-development decisions, the existing custom music for video guide covers brief construction; the Premiere music fade-out guide focuses specifically on endings. Sonilo's current Commercial Use page states that output covered by an eligible plan or written API agreement has commercial-use rights under current terms, while Do not infer commercial permission from a plan name alone; verify the current Terms and the plan-specific or written agreement that applied when the output was generated.
06
Fade the music and export a file that preserves the mix
Constant Gain
A linear crossfade can create a noticeable level dip at the midpoint. Use it when that shape is intentional, not because it is the first effect found.
Constant Power
Premiere's default audio transition creates a smooth power-style crossfade comparable to a visual dissolve and is often a practical starting point.
Exponential Fade
This uses a more gradual logarithmic curve. It can work well for a standalone music exit, but judge the cadence rather than the name.
Volume keyframes
Draw a custom curve when a transition cannot place the exact start, rate, or landing level. At least two keyframes define a change; more control its shape.
For a deeper ending workflow, use Sonilo's audio fade-out guide. In Premiere, resize the transition or edit it in Effect Controls, then leave enough tail for the final musical event. If the cut ends at the same frame as a reverb or cymbal tail, the export can sound clipped even though the timeline edit looks neat.
Sequence
- Picture duration locked
- No offline media
- Music lane named and active
- Ending lands before out point
Mix
- Dialogue intelligible
- No overload on combined peaks
- Ducking handoffs reviewed
- Headphones and speakers checked
Export
- File > Export > Media
- H.264/MP4 or required format
- Audio enabled with correct channels
- Direct export or Media Encoder
Delivery
- Rendered file watched fully
- License record attached
- Version and approval named
- Project and source retained
Adobe's current export guidance uses File > Export > Media, with H.264 for MP4 as a common online path, and asks editors to confirm frame size, frame rate, aspect, audio channels, sample rate, and bitrate. Direct export renders immediately; Adobe Media Encoder queues jobs while Premiere remains available. Export settings cannot rescue a bad mix, so listen to the rendered file before delivery.
07
Premiere Pro music troubleshooting and licensing
| Problem | Check first | Next action |
|---|---|---|
| Music is offline | Source path and drive | Use Link Media to reconnect the original approved file |
| No waveform yet | Conforming and media cache | Let Premiere finish processing; keep the original source intact |
| Music is silent | Clip mute, track mute, routing, playhead | Unmute deliberately and follow meters from clip to output |
| Remix seam is audible | Segments, Variations, song structure | Change settings, make a manual cut, or select another cue |
| Ducking feels unnatural | Sensitivity, amount, fade, generated keyframes | Edit keyframes and protect meaningful pauses |
| Export differs from timeline | Output range, codec, channels, source effects | Confirm settings, re-export, and test the rendered file |
| Adobe Stock claim appears | Licensed track and validation code | Use the license code in the platform dispute process where appropriate |
Premiere can download a low-bitrate preview and later replace every instance with the high-quality licensed version. Adobe advises keeping the license code for YouTube claims. Stock audio cannot be distributed as a standalone track, and license scope differs for online advertising, film, broadcast, SVOD, apps, games, and enterprise use.
For any uploaded third-party, commissioned, library, or AI-generated cue, verify synchronization, commercial purpose, paid media, client transfer, territory, platform, editing, and proof requirements. “Royalty-free” does not mean public domain or permission for every release. Keep the exact agreement that applied when the track was acquired or generated.
Sources
Sources
- Adobe: Add or remove clips
- Adobe: Edit audio in Properties
- Adobe: Adjust track volume
- Adobe: Automatically duck audio
- Adobe: Remix considerations
- Adobe: Audio crossfades
- Adobe: Stock audio in Premiere
- Adobe: Export video and audio
- Sonilo: Video-to-Music, Text-to-Music, Audio Ducking, and Commercial Use
Human review needed for publication: a named editor using the current Premiere desktop release should rerun import, Properties, keyframe, Remix, Ducking, fade, Adobe Stock, and export workflows; a qualified music-rights reviewer should verify license scope and Sonilo plan wording.
FAQ
Frequently asked questions
Import the audio through Import mode, File > Import, Media Browser, or the Project panel. Drag the clip from the Project panel to a dedicated audio track in the Timeline, trim and position it, then adjust Volume in Properties or with clip keyframes. Add a fade, review dialogue, and export the finished sequence.
Check that the music clip is on an active audio track, the clip and track are not muted, track output is routed correctly, and the source file is online. Confirm that the sequence playhead crosses the clip and inspect meters. If media is offline, use Link Media rather than importing an unrelated duplicate.
Tag the voice clips as Dialogue and the music clip as Music in Essential Sound. Enable Ducking on the music, choose Dialogue under Duck Against, set sensitivity, reduction and fade controls, then Generate Keyframes. Listen through every handoff and edit generated keyframes where speech or pauses need different treatment.
Apply an audio transition such as Constant Power or Exponential Fade to the end of the music clip, then change its duration in the Timeline or Effect Controls. For a custom curve, add at least two Volume keyframes and draw the fade manually. Always confirm the fade in the exported file.
Remix analyzes musical beats and transition points, then rearranges a music clip toward a target duration. Adobe says the result is within five seconds of the target and typically within one second, depending on composition and settings. Strong intros and outros remain unchanged, so review every generated edit before delivery.
This page does not claim a Premiere Pro panel or direct integration. Generate music from a video or text brief in Sonilo, download the chosen audio file, import it into the Premiere Project panel, place it on the Timeline, and finish duration, levels, ducking, fades, rights review, and export in Premiere.
Related
Keep reading
Picture-led music for a Premiere timeline
Generate the cue around your edit, then finish the mix in Premiere.
Upload a locked or near-locked cut, compare timing-aware soundtrack directions, download the selected file, and import it into the project.