Guides
How to Add Music to iMovie Without Losing Original Audio
- Written by
- Sonilo Team
- Published
Adding music to iMovie should not mean covering up the sound you already recorded. In most projects, the original audio still has an important job: dialogue explains the story, natural sound makes the scene feel real, and small details like footsteps, room tone, or crowd noise help the video feel less flat. Before any of that mixing work, confirm music sync licensing for video projects so the track is cleared for the platforms and commercial uses you actually plan.
The best workflow is simple: add music as a separate audio layer, keep your original clip audio in place, then lower, fade, and review the music until it supports the video instead of fighting it.
Before adding music: decide what the original audio should do
Before you import a track, play your edit once without music. Listen for the parts where the original audio matters most.
If your video includes talking, interviews, narration, tutorials, travel clips with live ambience, or product sound, the music should sit behind that audio. It should create pace and mood, but it should not become the main thing the viewer hears.
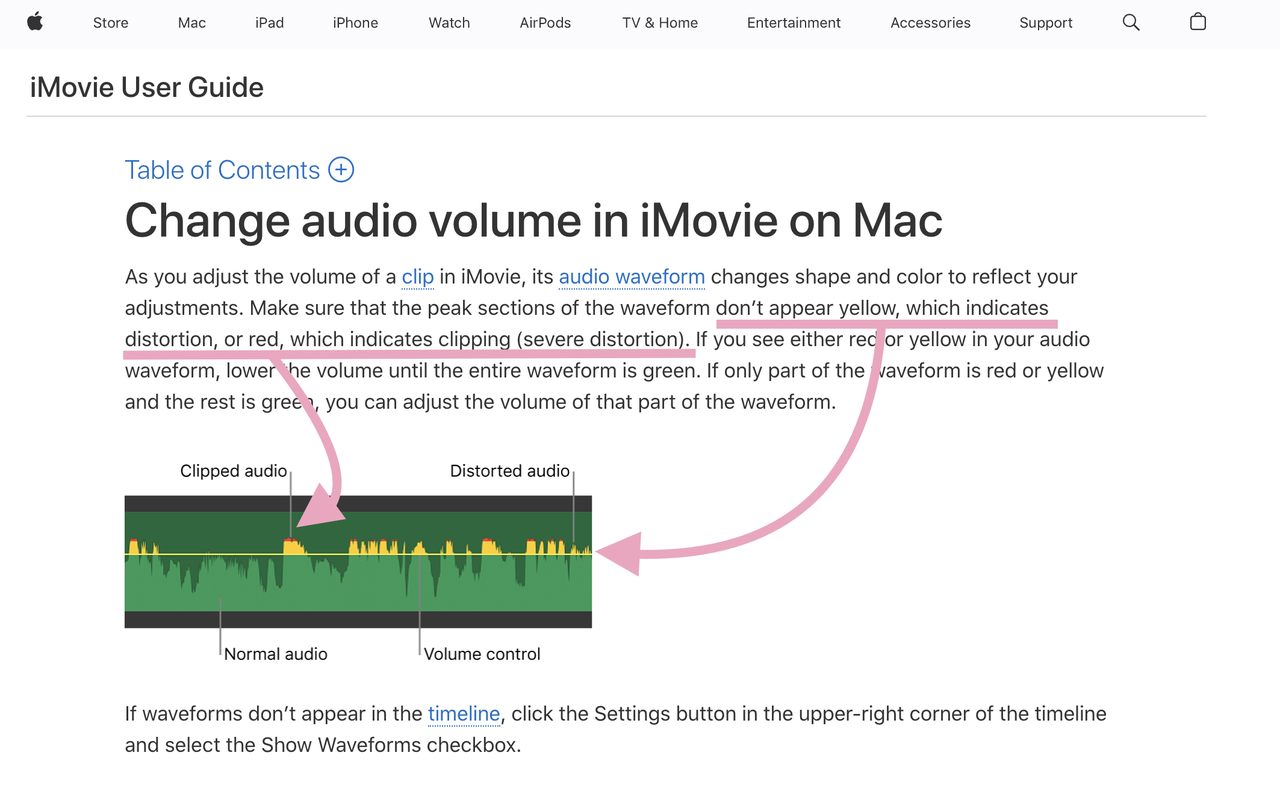
If your original audio is messy, decide whether to keep all of it, lower some parts, or mute sections that do not add value. iMovie lets you adjust the volume of audio clips or video clips with audio, and Apple notes in its guide to changing audio volume in iMovie on Mac that waveform colors can help you spot distortion or clipping. If the waveform turns yellow or red, lower the volume until the waveform is green.
Also check your music rights before you publish. Apple’s support page for adding songs and audio files to iMovie says protected files in your Music library are unavailable in iMovie, and that using a song purchased from the iTunes Store requires copyright ownership or express permission from the copyright holder. In other words, a song being available in your Music app or Apple Music library does not automatically grant video-use rights.
Add music to an iMovie project on Mac
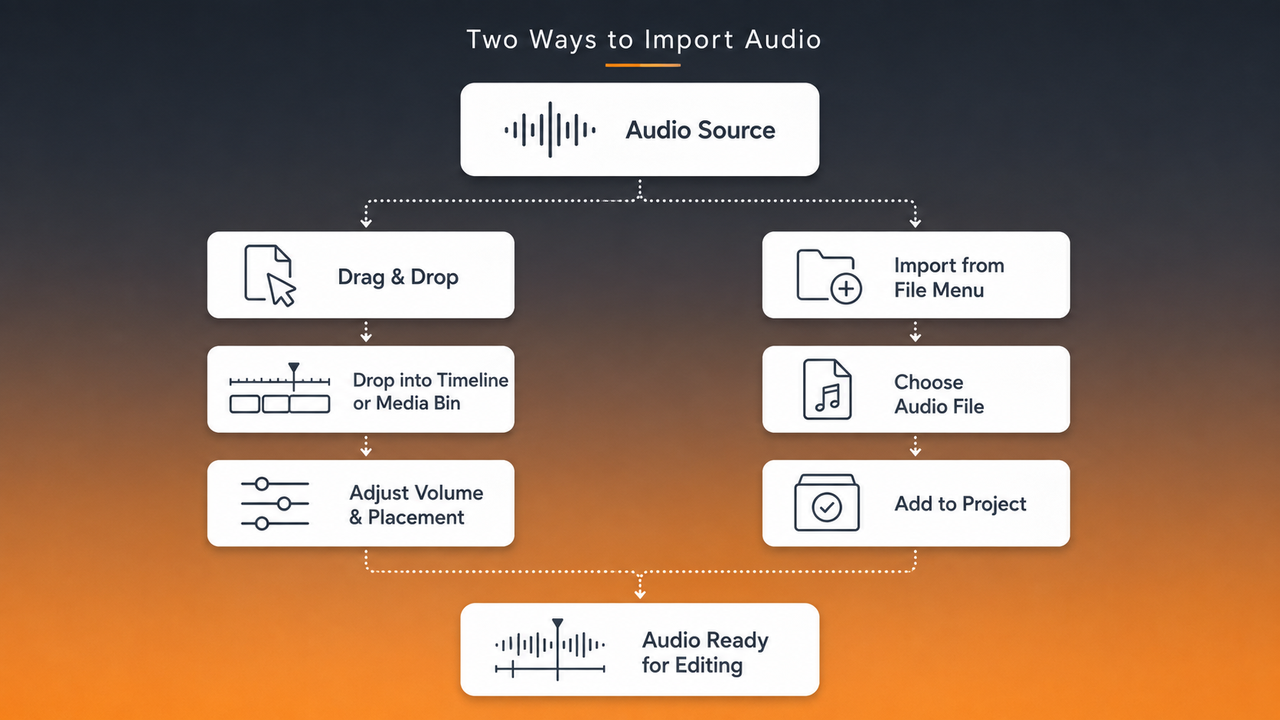
On Mac, iMovie gives you two common ways to add music: use the audio browser inside iMovie, or drag an audio file from Finder directly into the timeline.
Apple’s support page says iMovie for Mac can import songs from your music library through the media browser, and can also accept audio files dragged from Finder into the timeline. Apple lists supported examples such as M4A, MP4, MP3, WAV, and AIFF.
Import a local audio file
If your music file is already saved on your Mac, open your iMovie project and locate the file in Finder. Then drag it directly into the iMovie timeline.
For background music, drag the file to the music well at the bottom of the timeline. Apple’s iMovie User Guide describes this area as the background music area, where clips can be added as background music for the project. Use that area when you want the soundtrack to support the full edit rather than sit as audio attached to one specific video clip.
If you want music or a sound effect to stay connected to a particular video clip, drag it underneath that video clip instead. Apple explains that when an audio clip is attached this way, moving the video clip also moves the attached audio with it.
Place music beneath the video timeline
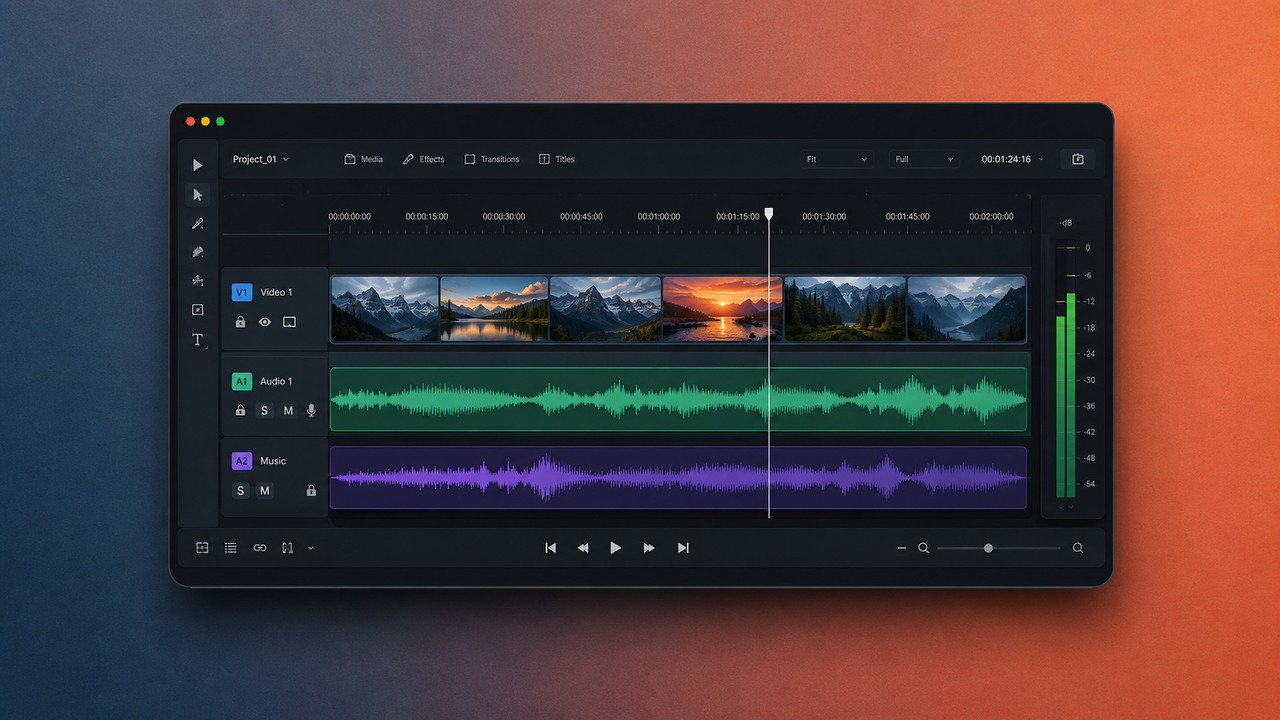
To keep original audio in iMovie, do not replace, detach, or mute the video clip audio unless that is your actual goal. Add the music as an additional layer beneath the video timeline.
For most full-video soundtracks, use the music well. In Apple’s iMovie User Guide for adding music and sound clips on Mac, Apple explains that background music plays along with recorded video audio, sound effects, and voiceovers. It is also edited separately in its own timeline area, so it is not affected by edits made to other clips.
That separation is useful. You can trim video clips, rearrange shots, or tighten transitions without accidentally chopping your soundtrack into small pieces. After the picture edit is close to final, you can come back and shape the music around the finished structure.
Fit the music to the final edit
Music usually works best after the video edit is mostly locked. If you add music too early, every major picture change can force you to re-trim the soundtrack.
Start by placing the track under the full sequence. Then watch the video from the beginning and check whether the first beat, intro, or energy shift matches the opening shot.
Adjust the starting point
The beginning of the track does not always need to begin at the beginning of the video. Sometimes a song has a slow intro that delays the momentum, or the best section starts after a few seconds.
Apple says you can select only part of a song waveform in the iMovie media browser before dragging that range into the timeline. If the track is already in the timeline, trim the front edge so the useful section starts where the video needs it.
For talking videos, avoid starting music too loudly under the first word. Give the viewer a clean entry point. A short fade-in often feels more natural than a hard music start, especially for tutorials, interviews, and vlog-style edits.
Trim or extend the ending naturally
A music track that stops suddenly can make the whole video feel unfinished. Once your edit length is final, trim the end of the music so it lands near a natural beat, chord, or quiet section.
For a cleaner ending, fade the track out before the final visual moment feels abruptly cut off. If the music is too short, you can repeat a section, use another track, or prepare a custom-length version before importing it.
This is where an adjacent workflow such as Sonilo can help if you need music shaped to a specific duration before bringing it into iMovie. The key is still to return to iMovie for the final picture-and-sound check.
Balance music with speech and original sound
The most common mistake is leaving the soundtrack too loud. If your viewer has to work to understand speech, the music is not helping.
In iMovie on Mac, select the audio clip or video clip with audio in the timeline, then drag the volume line up or down. Apple’s volume guide also explains that you can adjust only part of a clip by selecting a range, and iMovie automatically adds fades at the edges of that range.
For sections with dialogue or voiceover, use iMovie’s foreground-audio control. Apple’s guide to audio effects in iMovie on Mac includes a “Lower volume of other clips” option, which lowers background music or other overlapping audio while the selected foreground clip plays. You can also adjust the slider to decide how much the competing audio should drop.
For more manual control, use keyframes. Apple explains that keyframes can lower part of a clip and raise the volume again over time. This is useful when the same music track needs to breathe around narration, reaction sounds, or important original audio.
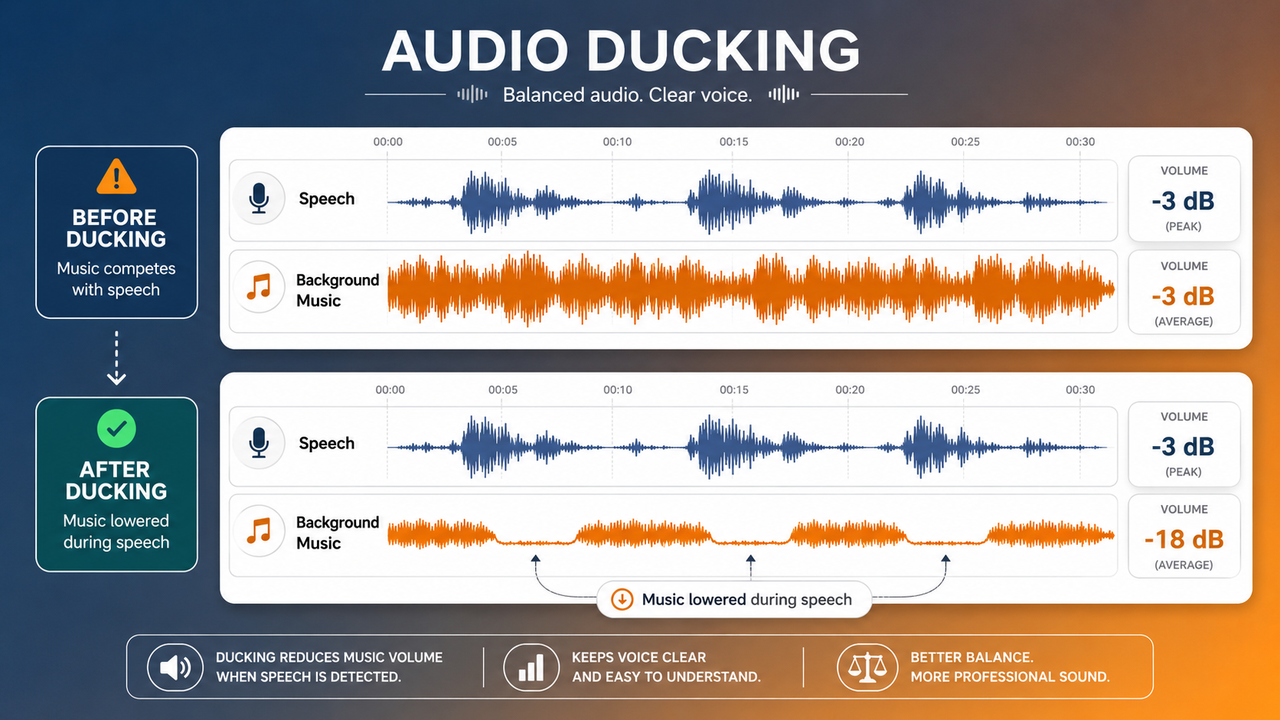
Do not remove original sound just because you added music. A quiet layer of natural audio often makes the video feel more present. For example, a cooking video usually feels better when the viewer can still hear chopping, sizzling, and plate sounds under the music. A travel clip may need street noise or ocean sound to keep the location alive.
Review the finished video before export
Before exporting, watch the whole project from start to finish with headphones or good speakers. Then do a second pass through your Mac speakers, because many viewers will listen on small speakers.
Check four things:
- Speech is easy to understand.
- Music does not cover important original sound.
- Music starts and ends naturally.
- No waveform peaks show clipping or obvious distortion.
Also listen across transitions. Music that sounds fine in one clip can become distracting when the scene changes. If a new shot has important audio, lower the music before the cut rather than after the viewer has already missed the first words.
When the video is ready, Apple’s current iMovie Mac export guide says to choose File > Share > File. In that dialog, you can set the title, description, tags, format, resolution, quality, and compression before saving the final movie, according to Apple’s guide to exporting a movie, trailer, or clip as a file in iMovie on Mac.

Watch that exported file too. The timeline preview is helpful, but the final file is what your audience will actually experience.
When iMovie audio controls may not be enough
iMovie is strong for straightforward creator edits: music beds, voiceover, sound effects, fades, volume changes, and simple ducking. But it is not a full audio production environment.
You may outgrow iMovie’s audio controls if you need advanced mixing, multi-band EQ, detailed noise repair, loudness normalization for platform standards, stem-based music editing, or precise beat mapping across a complex edit.
In those cases, prepare the audio elsewhere first, then import the finished track into iMovie. For example, you might create or edit a custom-length background track outside iMovie, export it as an audio file, then place it in the iMovie music well for final alignment and review.
FAQ
Why can a music track appear unavailable in iMovie?
A track may be protected, not downloaded locally, or not available in a format iMovie can use. Apple says protected files in the Music library are unavailable in iMovie, and purchased music still requires copyright ownership or permission for project use.
Can collaborators open a project if music files are missing?
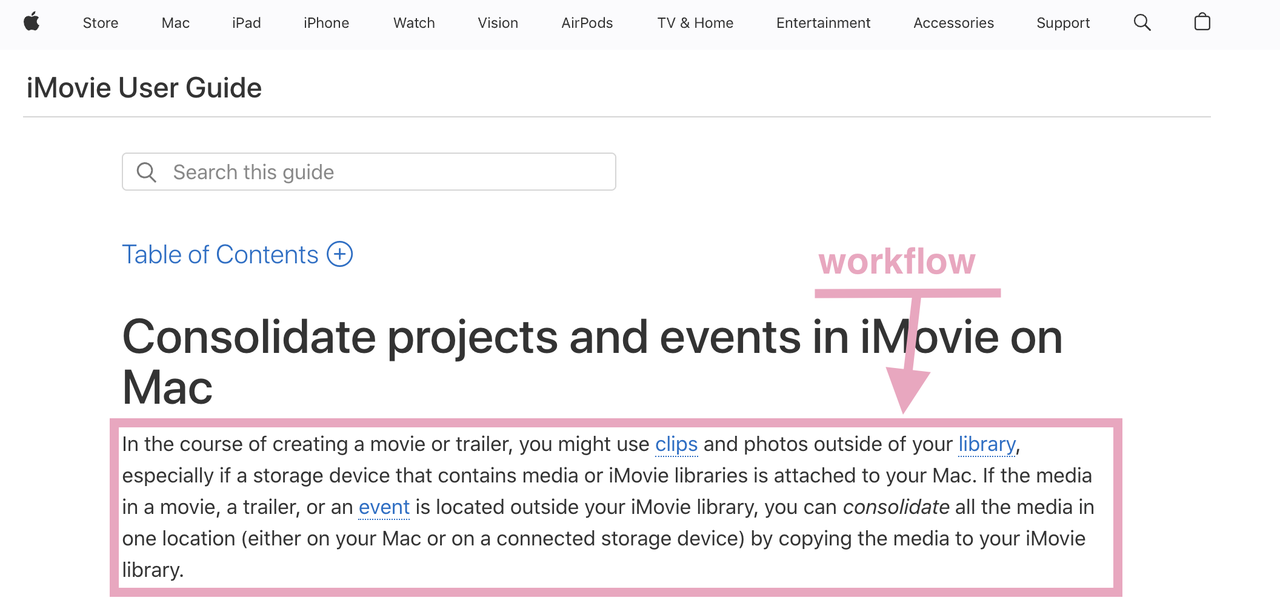
If source media is stored outside the iMovie library, Apple recommends using File > Consolidate Project Media to copy the media into the open library. Before sharing a project with collaborators, collect the music files, video clips, voiceover, and sound effects in one place so they can continue editing the project correctly. Apple explains this workflow in its guide to consolidating projects and events in iMovie on Mac.
What should editors keep before replacing a soundtrack?
Keep the original project, the original music file, and an exported reference version. If you are changing only the soundtrack, keeping these materials makes it easier to compare timing, restore the previous mix, or prove what changed.
Who should verify music-use permission before publishing?
The person or team publishing the video should verify permission. Editors can flag rights questions, but the publisher is responsible for confirming whether the track can be used on YouTube, social media, ads, client work, or other public channels.