Guides
How to Add Sound Effects on CapCut
- Written by
- Sonilo Team
- Published
The fastest sound-effect choice is not always the one already inside the editor. A built-in click can save an import, while a custom recording may fit the action with less trimming. Both still need a clear visual anchor and a clean place in the mix. Rights questions are even more unforgiving: a practical guide on how to use copyrighted music on YouTube should separate Content ID claims, licensed library tracks, and original AI generation before the video is monetized.
Learning how to add sound effects on CapCut therefore involves two jobs: getting the effect onto the timeline and placing its audible hit where the picture needs it. The library is the quickest starting point; a custom file adds control when its options do not fit.
Choose Built-In or Custom Sound Effects
Use a built-in effect when you need a familiar sound quickly. Clicks, whooshes, impacts, laughter, and transitions are usually easier to search than to make.
Choose a custom effect for a specific object, brand style, performance, or action length. Keep the original outside CapCut for later revisions.
Before client, branded, or commercial publishing, check the asset's source and permitted use. CapCut's current Materials License Agreement distinguishes commercially marked materials from non-commercial materials. A free asset is not automatically cleared for every project.
For a custom file, confirm that your team has permission to upload, edit, and publish it. Save the source page, receipt or license record, and original filename beside the project assets.
Add Effects From CapCut's Sound Library
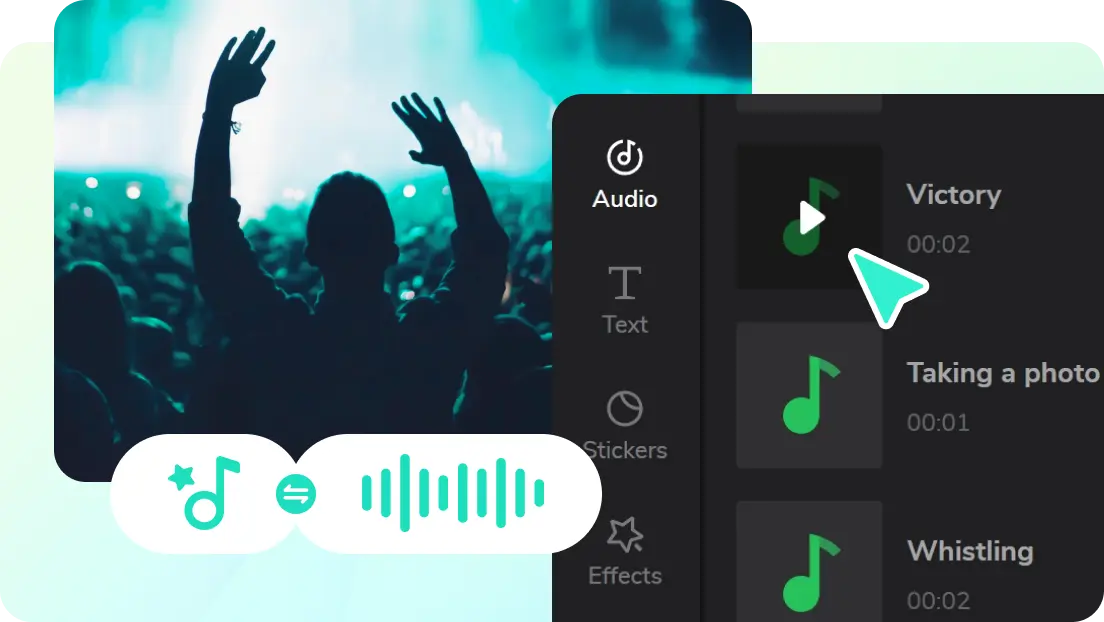
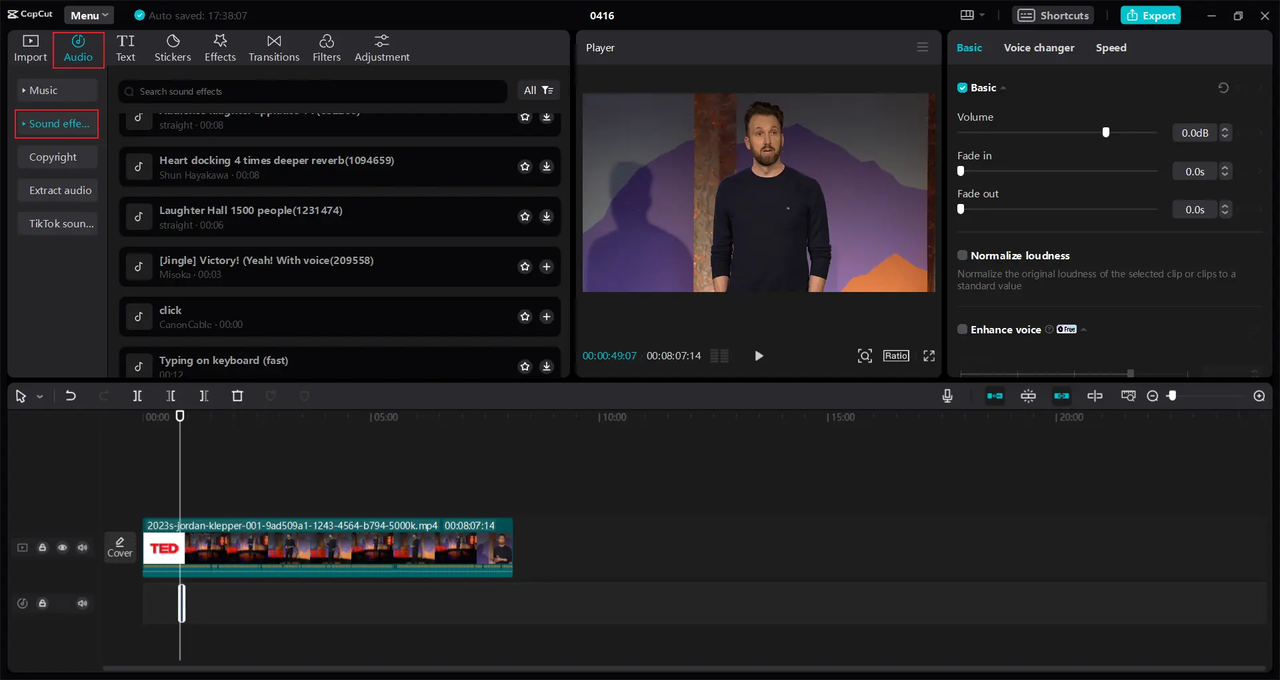
Start with the latest approved video cut on the timeline. On CapCut Web, open Audio, then Sound effects. Search for the action or browse categories, preview the candidates, and add one with the plus button or by dragging it onto the timeline.
CapCut's current sound-effects guide, reviewed August 28, 2026, documents that web path. Its mobile materials may label the route Audio > Sound FX instead. Button names and library availability can vary by app version, account, and region, so follow the equivalent audio menu in your build.
Preview the effect with the picture and judge its weight, length, and perspective. A heavy impact can make a small movement feel artificial.
Import a Custom Sound Effect
Save the custom SFX as a separate audio file with a useful name. On web or desktop, use Media > Import or the visible import control, select the file, and place it on an audio track. On mobile, open the local or device-audio option available under the audio controls, then add the file to the project.
If the phone does not show the file, check storage permission and play the file outside the editor. Convert an unusual format to a WAV or MP3 copy while preserving the master.
Once imported, play the effect before positioning it. Many files contain silence, room tone, or a gradual attack before the main sound. Aligning the beginning of the file may not align the part viewers actually hear.
Align Effects With Visual Moments
Choose a visible anchor before moving the audio: first contact, a graphic appearing, a door stopping, or a reaction. One effect should support one clear event unless it is ambience.
Play the scene at normal speed, then move the SFX slightly and compare. Contact needs tight alignment; a reaction sting can land later as commentary.
Trim and Split the Effect
Trim unused silence from the start so the audible attack is easier to place. Shorten the tail only when it overlaps speech, another effect, or the next scene. Cutting a natural decay too aggressively can make the sound feel pasted on.
Split a clip when only one section is useful or when an unwanted pause separates two usable events. Keep separate events as separate timeline clips. That makes later timing and volume changes easier than treating several hits as one block.
Adjust Timing on the Audio Timeline
Zoom into the CapCut audio timeline around the visual anchor. If the clip displays a waveform, place the sharp transient near the relevant frame instead of aligning only the clip edge. Preview a few seconds before and after the event so the sound is judged in context.
After moving or trimming video, recheck every nearby SFX. A precise placement can become wrong when the picture changes by only a few frames. For revisions, duplicate the draft before making broad timing changes and keep the approved version intact.
Balance Volume, Fades, and Overlapping Effects
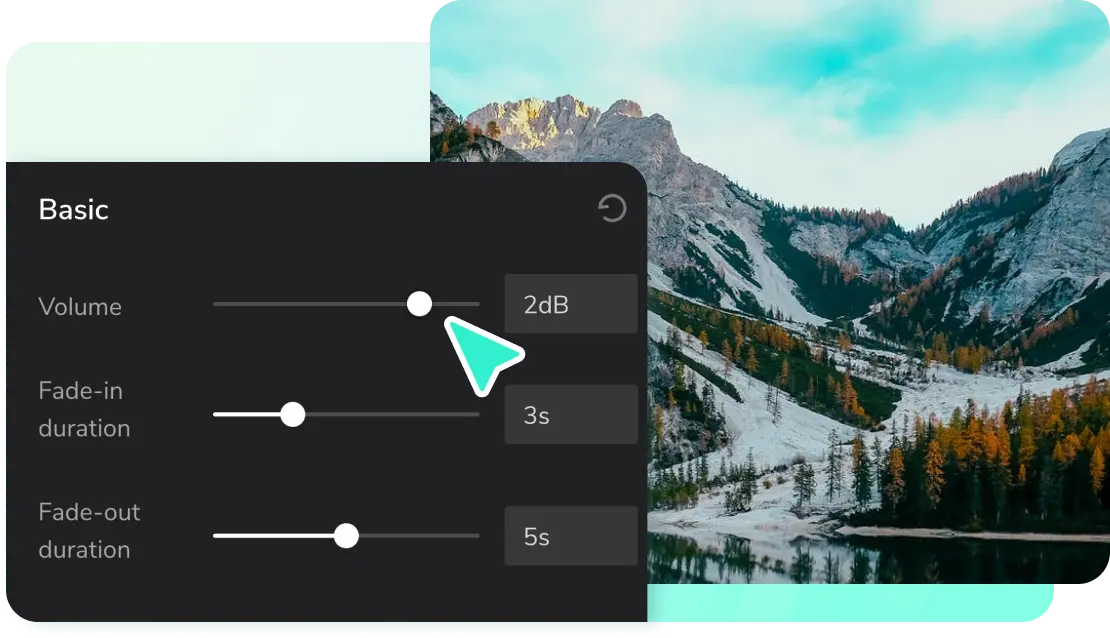
Set the effect level while dialogue, original sound, and music are playing. Solo playback can make a quiet effect seem correct even though it disappears in the complete mix. Start lower than expected, then raise it until the event reads without pulling attention away from the story.
Use a short fade when a clip begins or ends with a click. Longer fades suit ambience and mechanical textures better than quick impacts. There is no universal fade length because the right shape depends on the sound and scene.
When effects overlap, give each one a job. A door may need a latch and room response, but three full-volume impacts sound larger, not clearer. Remove redundant layers first.
Review the Export on Mobile Playback
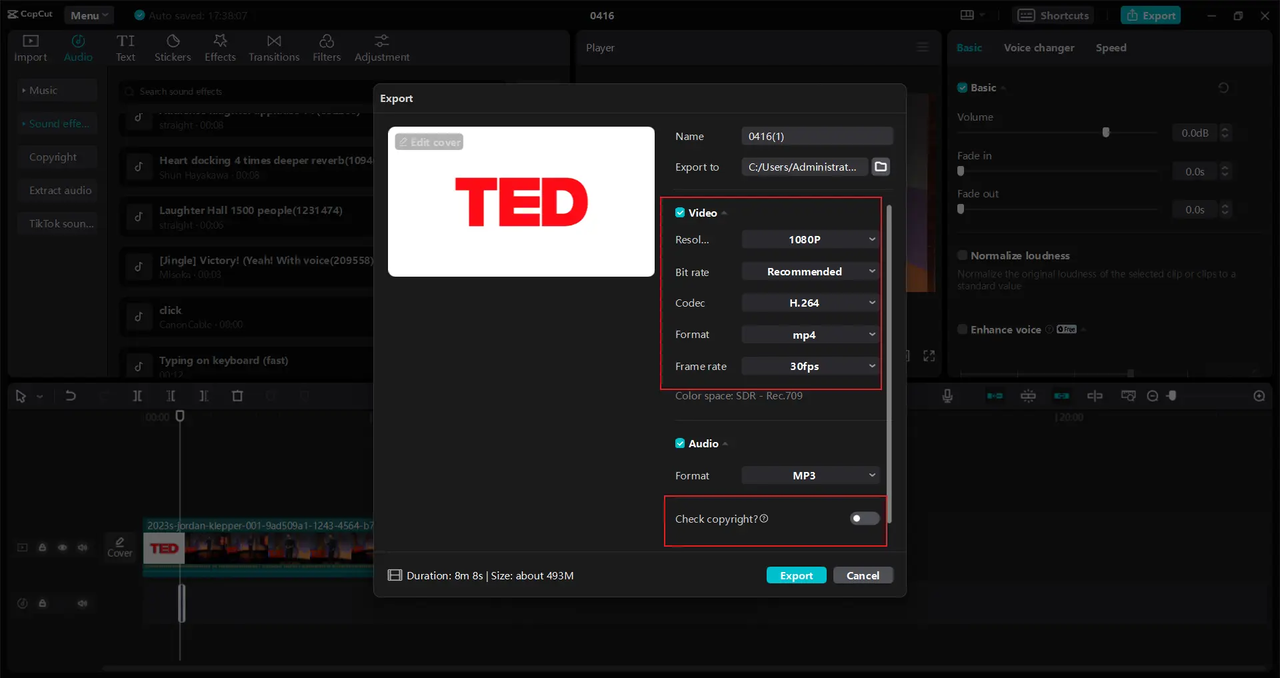
Export a short test containing the busiest SFX section before rendering the whole video. Listen once through headphones and once through the phone speaker. Small speakers may hide low rumbles while making sharp clicks or high-frequency effects feel much louder.
Compare the export with the editor preview. Confirm that timing, fades, and speech clarity survived, then review the locked video from beginning to end.
Fix Common CapCut Sound Effect Problems
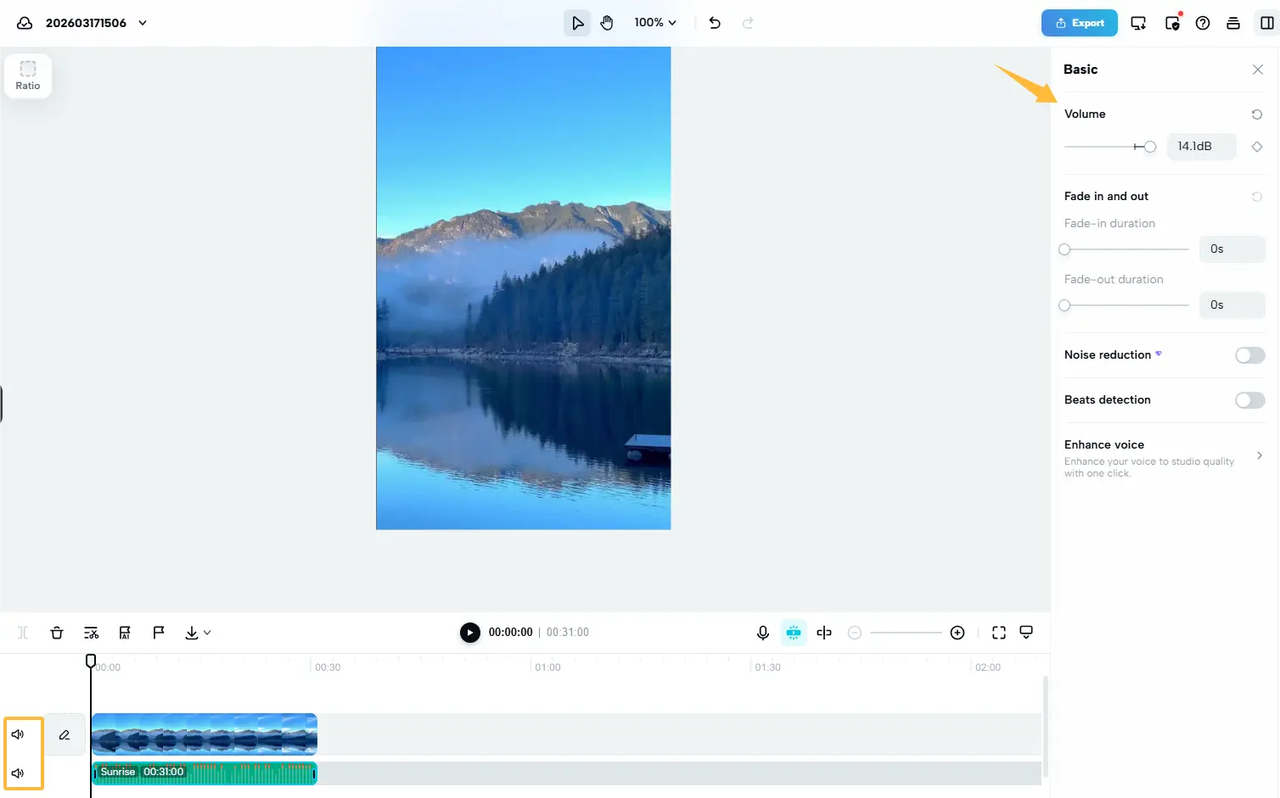
If an effect is silent, select its clip and check the volume, mute state, and playhead position. CapCut's official audio troubleshooting page also lists unsupported or damaged files, timeline placement, outdated software, and device issues as possible causes.
If a built-in effect cannot be found, search a broader action word and check whether the library differs on another device. An asset may also require Pro access or be unavailable for that account or region. Replace it with a verified alternative instead of building the edit around an effect you cannot export.
If timing feels inconsistent after export, return to the final picture cut and inspect the first audible hit. Remove leading silence, zoom farther into the timeline, and confirm that no later trim moved the visual anchor.
If effects become muddy, mute them individually. Keep the clearest layer, then restore only audible supporting details.
FAQ
Can collaborators share custom effects through CapCut Spaces?
Collaborators can access shared cloud projects where CapCut's current account and regional support allows it. That does not guarantee every locally imported file becomes a reusable team-library asset. Upload the source SFX with the project, test access from another member's account, and keep a separate team copy. CapCut notes that cross-regional Cloud Space access can be limited.
What happens to effects when a draft is duplicated?
A duplicate is useful for protecting an approved edit, but verify the copy before deleting the original. Open the duplicated draft, play every custom effect, and confirm that local media remains linked. Cloud projects and files stored only on one device may behave differently, especially when the copy is opened through another account or platform.
Who should approve a custom effect before a shared CapCut template is reused?
The project's content owner or designated editor should approve the sound and its reuse conditions. The review should cover the original source, intended audience, commercial status, and whether template users receive any right to reuse that audio. Do not assume permission for one exported video automatically covers a reusable public template.
How should teams label alternate sound-effect versions?
Use a name that identifies the project, scene, action, source, and revision, such as launch_scene03_ui-click_custom_v02.wav. Keep the untouched source separate from edited versions. A small log can record which file reached the approved draft, preventing collaborators from replacing it with a louder or earlier variation by mistake.
When is a separate audio editor useful before CapCut?
Use one when the source needs noise repair, precise layering, batch conversion, detailed equalization, or a clean master before import. CapCut is practical for placement and mix decisions inside a video. A dedicated audio editor becomes useful when preparing the sound itself takes more work than trimming, fading, and leveling it on the timeline.